Scraps and a Scanner- Create with Me Pt 1
Tapping in to what I love to create new products

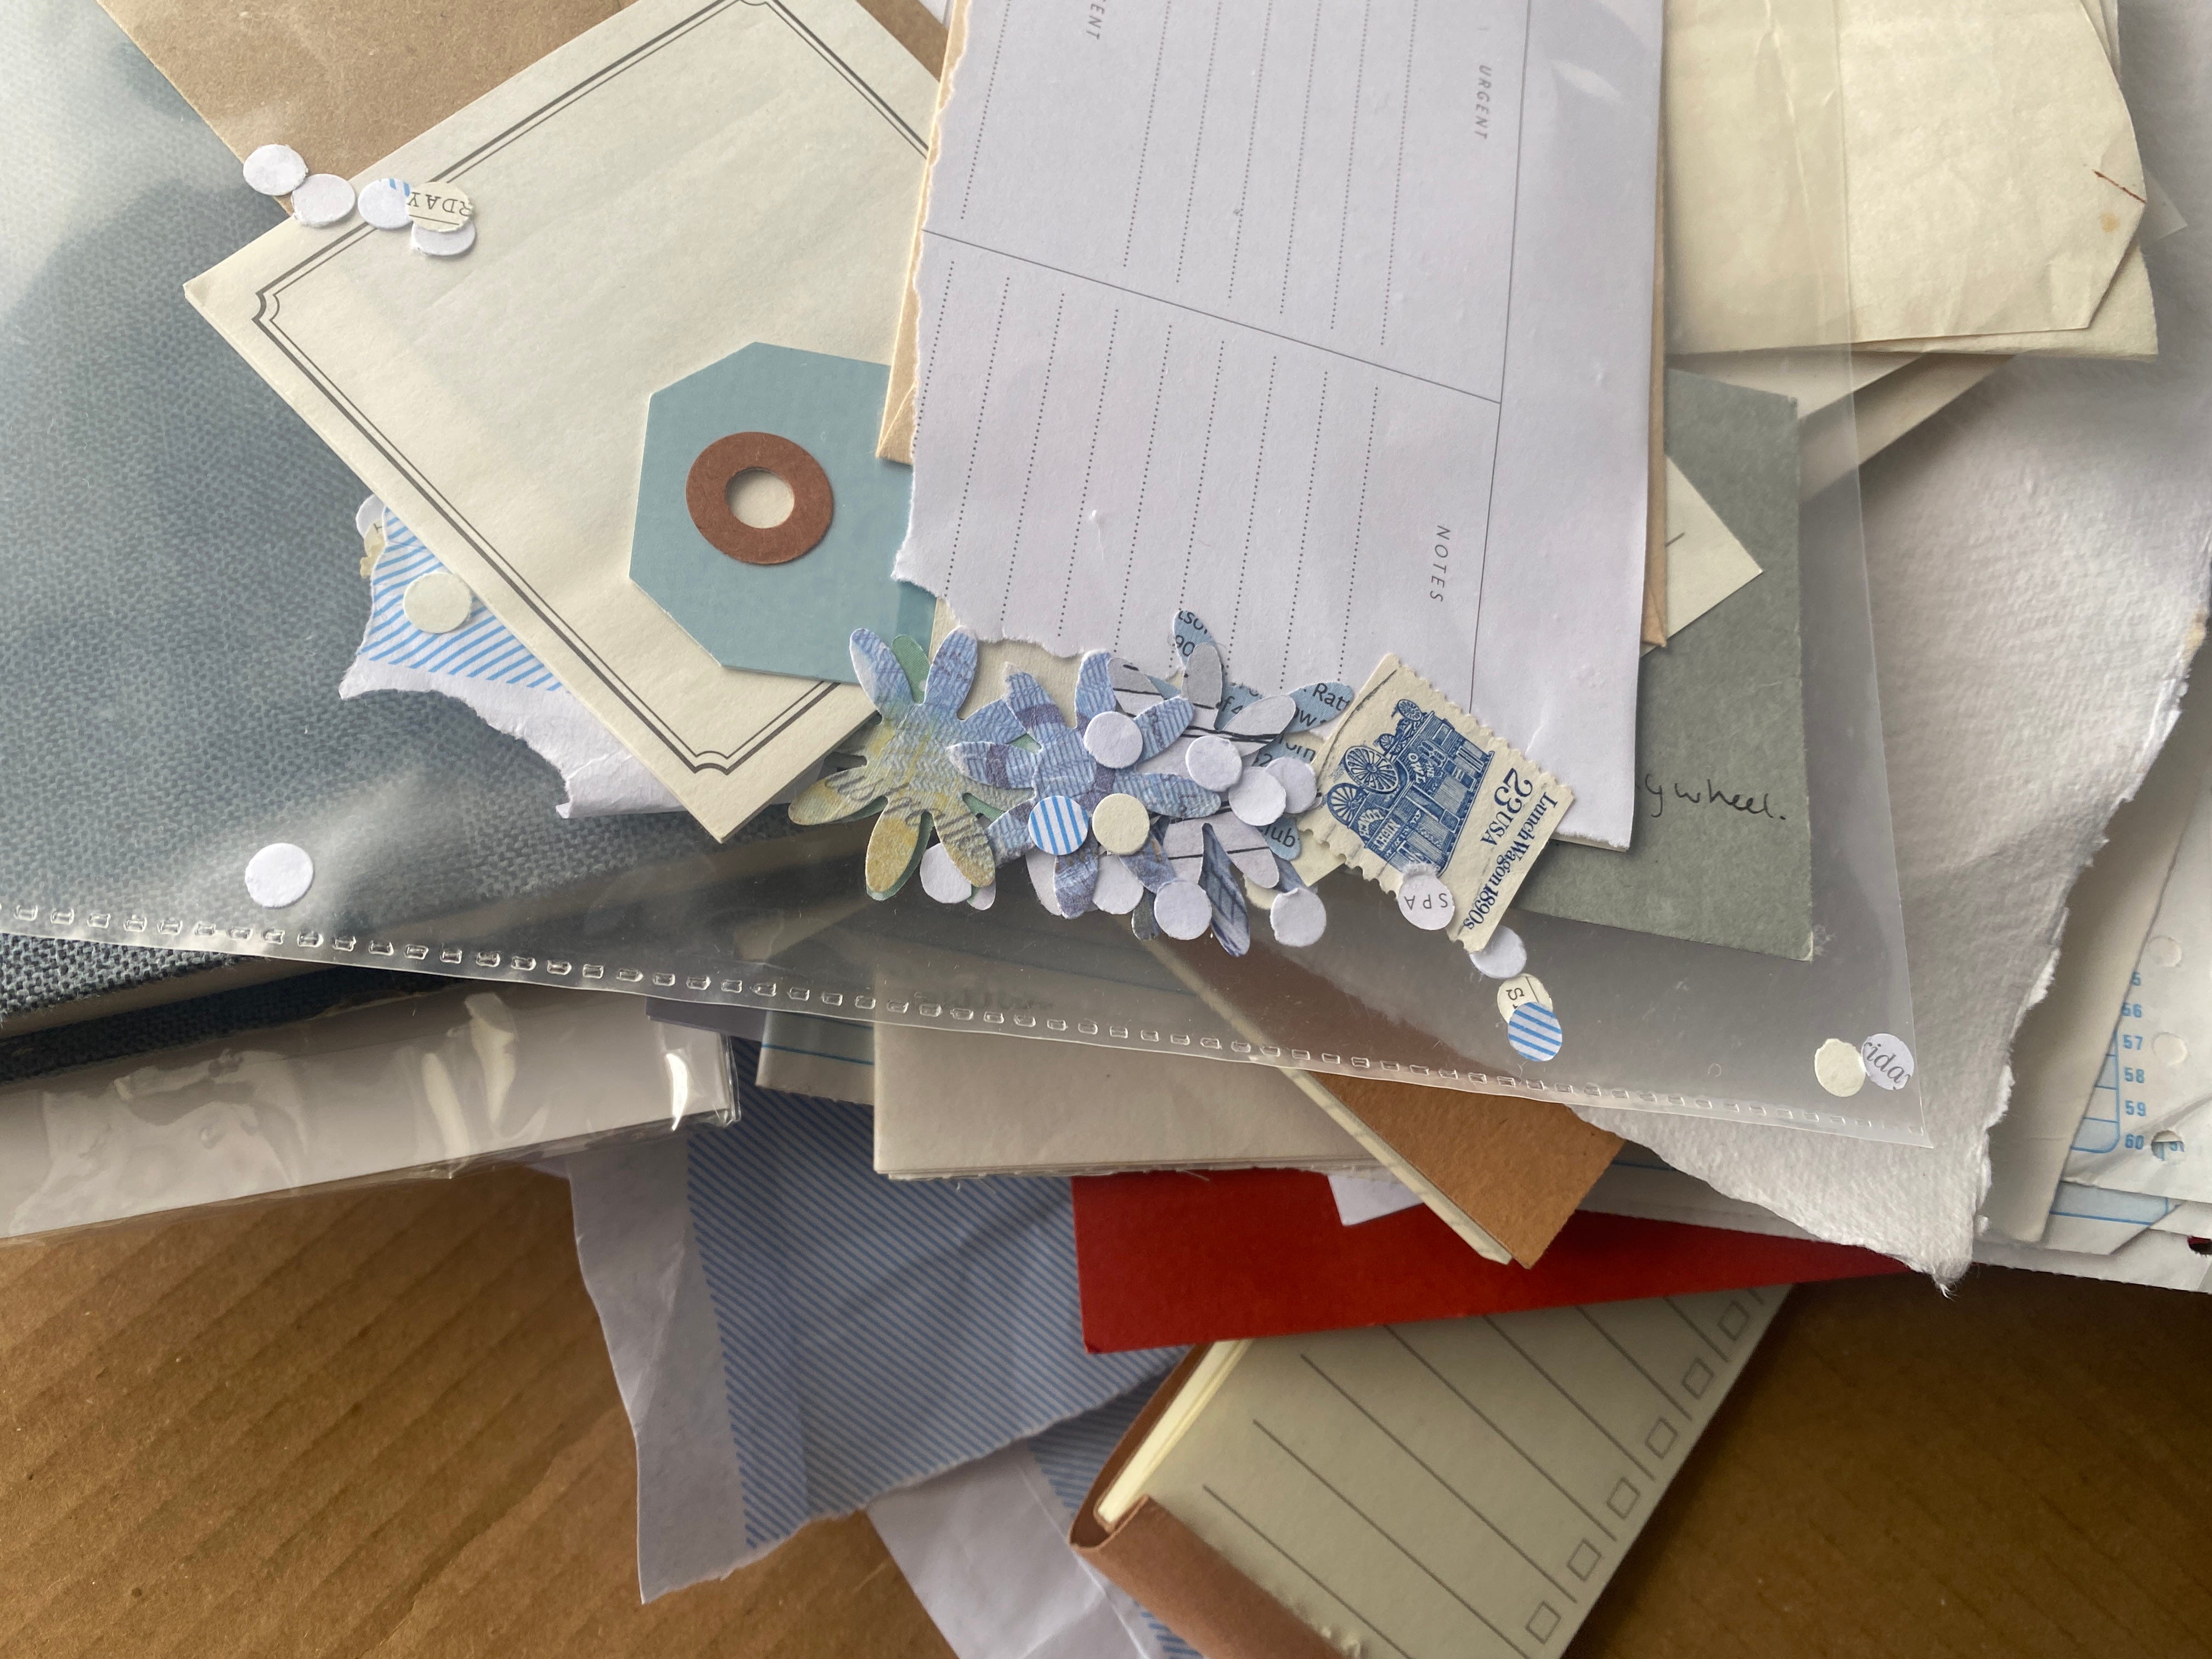
As far back as childhood I remember having a thing for paper and collecting random papers and ephemera. Things like business cards, tickets, letters, nice packaging and stamps. When I was first studying graphic design I had an obsession with texture. My collecting turned into collage creating both physical and digital.
I loved laying up papers, sticking them down and ripping them to make textured edges, painting on layers, stitching on top, and making the most delicious textures I could.
But the arty texture making got set aside as my business grew and the more serious proper graphic design took over. My early client work often had textured elements like watercolour and stitching as well as fabric and paper textures. This was popular at the time, but as trends changed so did my style.
Trying Something New
This year my Canva template sales have dipped on the marketplace platforms. Now this could be a mix of things including:
I have less time to create new products
Marketplaces are fickle things (especially Etsy)
I haven’t been able to promote as much
More people are using AI to design
There are more and more people selling Canva templates making it harder to compete on these big platforms.
So it’s not really a surprise. But I want to take action to keep things at a good level and not let it fizzle out. Now of course I could just make more designs, but with a busy toddler that is proving challenging. And with the concern that people are using AI for design I began to wonder if I need to try a slightly different angle and test some new things instead of just trying to produce more of the same.
I considered trying the B2C market instead of just B2B products (which I still may try) but then something occurred to me. People who are looking to buy digital design assets, the people who don’t just turn to AI to whip them up a graphic, are probably also the type that want more human feeling design that is unique and interesting.
So what would help them? Real man made textures and elements.
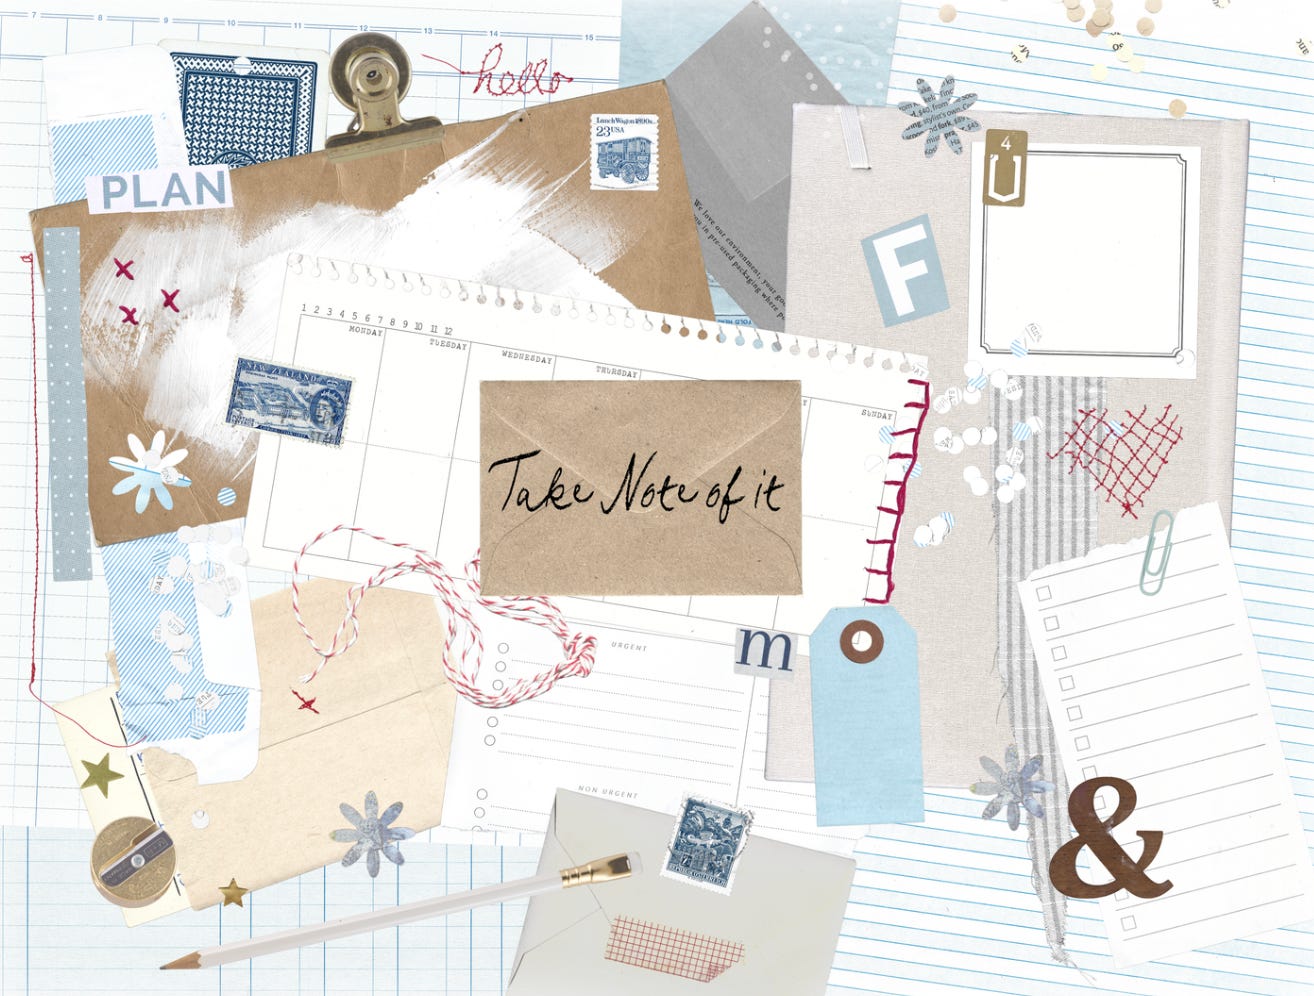
So I got out the scanner, began looking through my things for various papers and ephemera and began to work on my first elements pack.
Why Texture Looks Good
It seems I’m not alone in my love of texture.As I was working on this project I saw someone mention this study by Biederman and Vessel who argue humans are "infovores". Which has become quite obvious in recent year by our love for consuming content. Our brains are wired to seek out and extract information from the environment because doing so triggers an opioid release in areas of the brain associated with pleasure (specifically regions tied to the visual association cortices). Which means pleasure can also be a reward for successfully interpreting complex visual scenes. i.e we get a pleasurable high out of looking at complex visually rich imagery. The grain, warmth, texture, layering.
Texture = high information density in a small area. The eye has to do real work processing depth and material, which is exactly the kind of moderate-complexity processing the theory says triggers reward. It’s not too complex that it leaves us overwhelmed but not too simple that it bores us. It hits that sweet spot.
What I have Learned in the Process
Creating element packs isn’t as simple as scanning stuff and saving the file. Along the way I have learned a few things both from working on it and from researching what else is out there.
From the process:
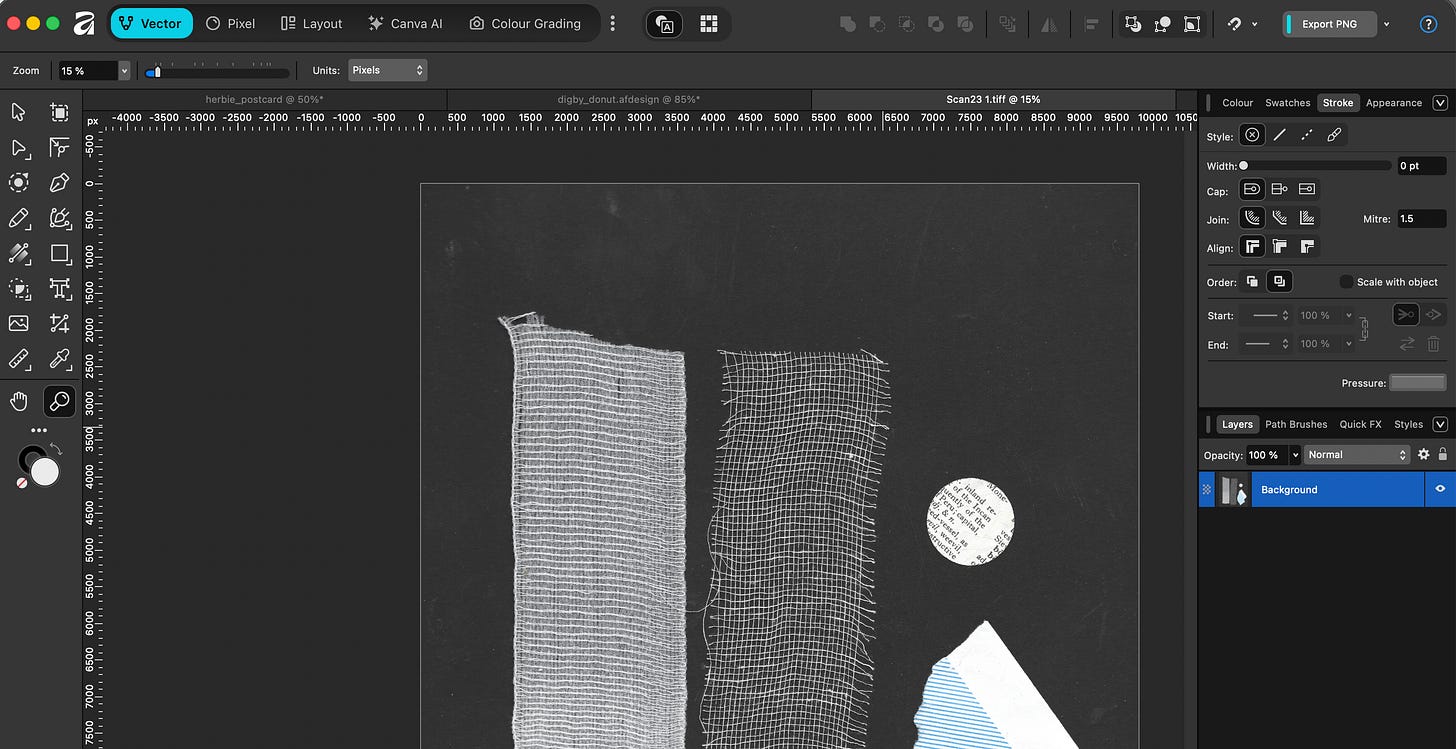
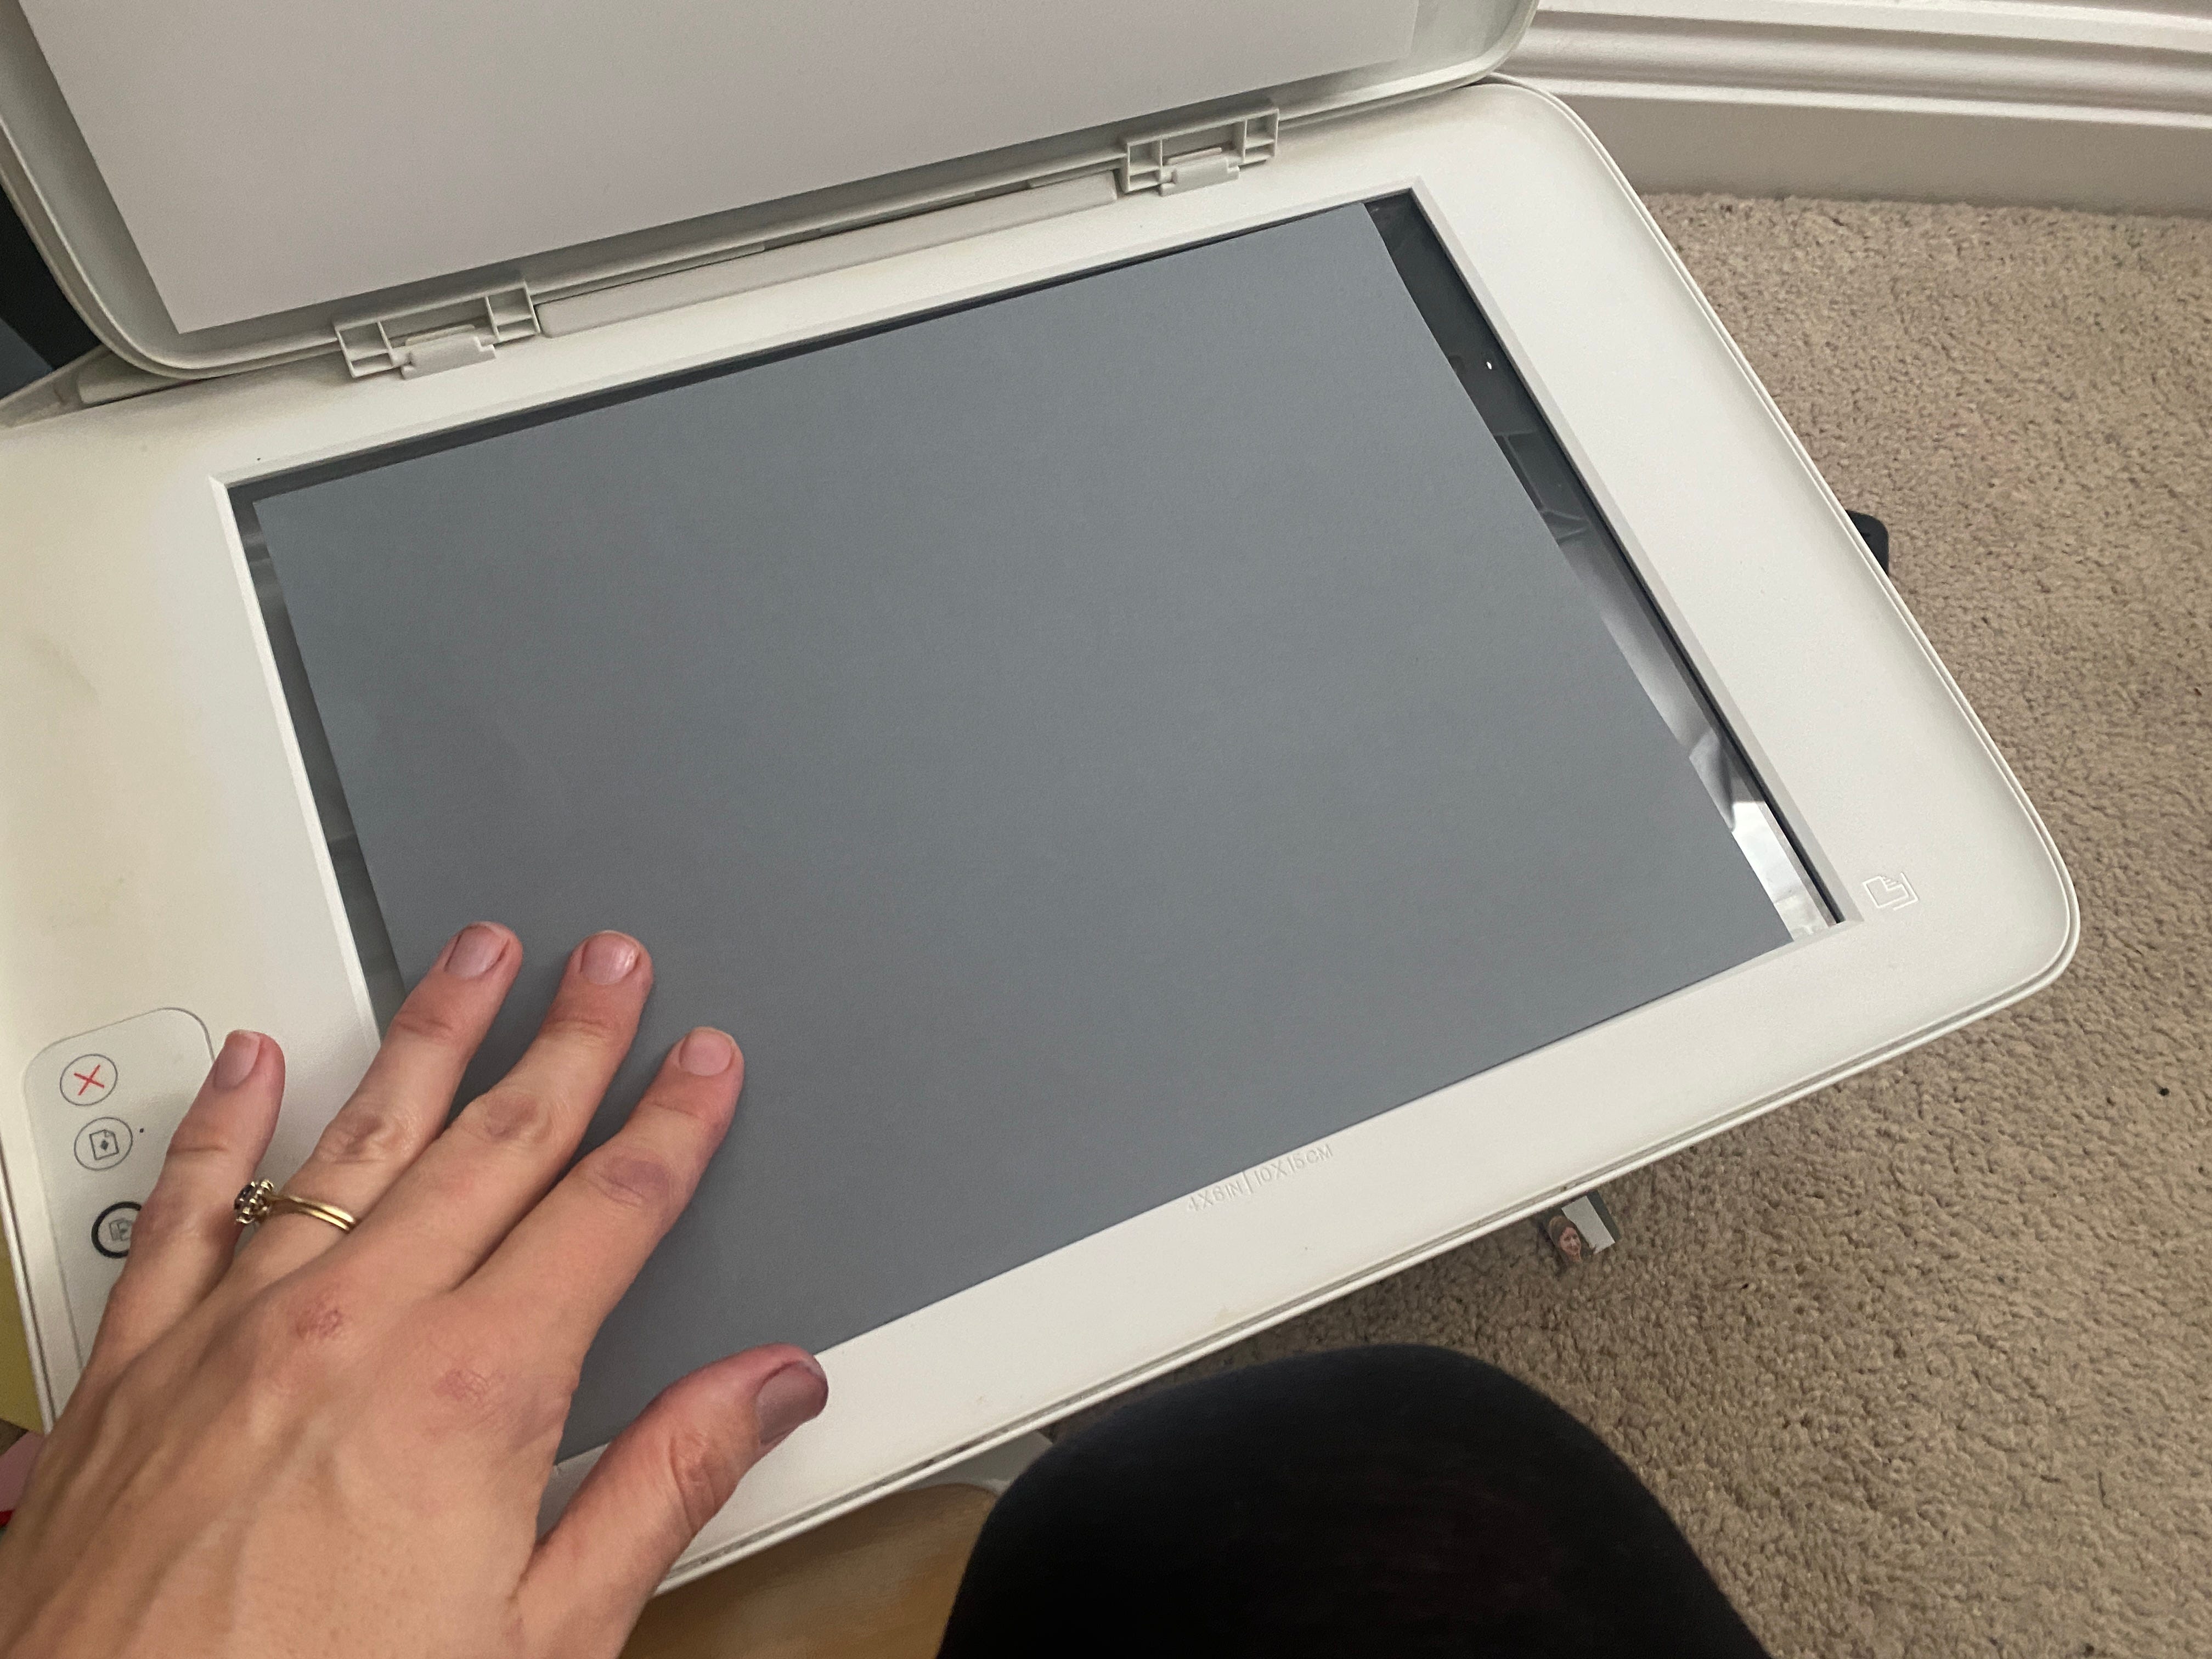
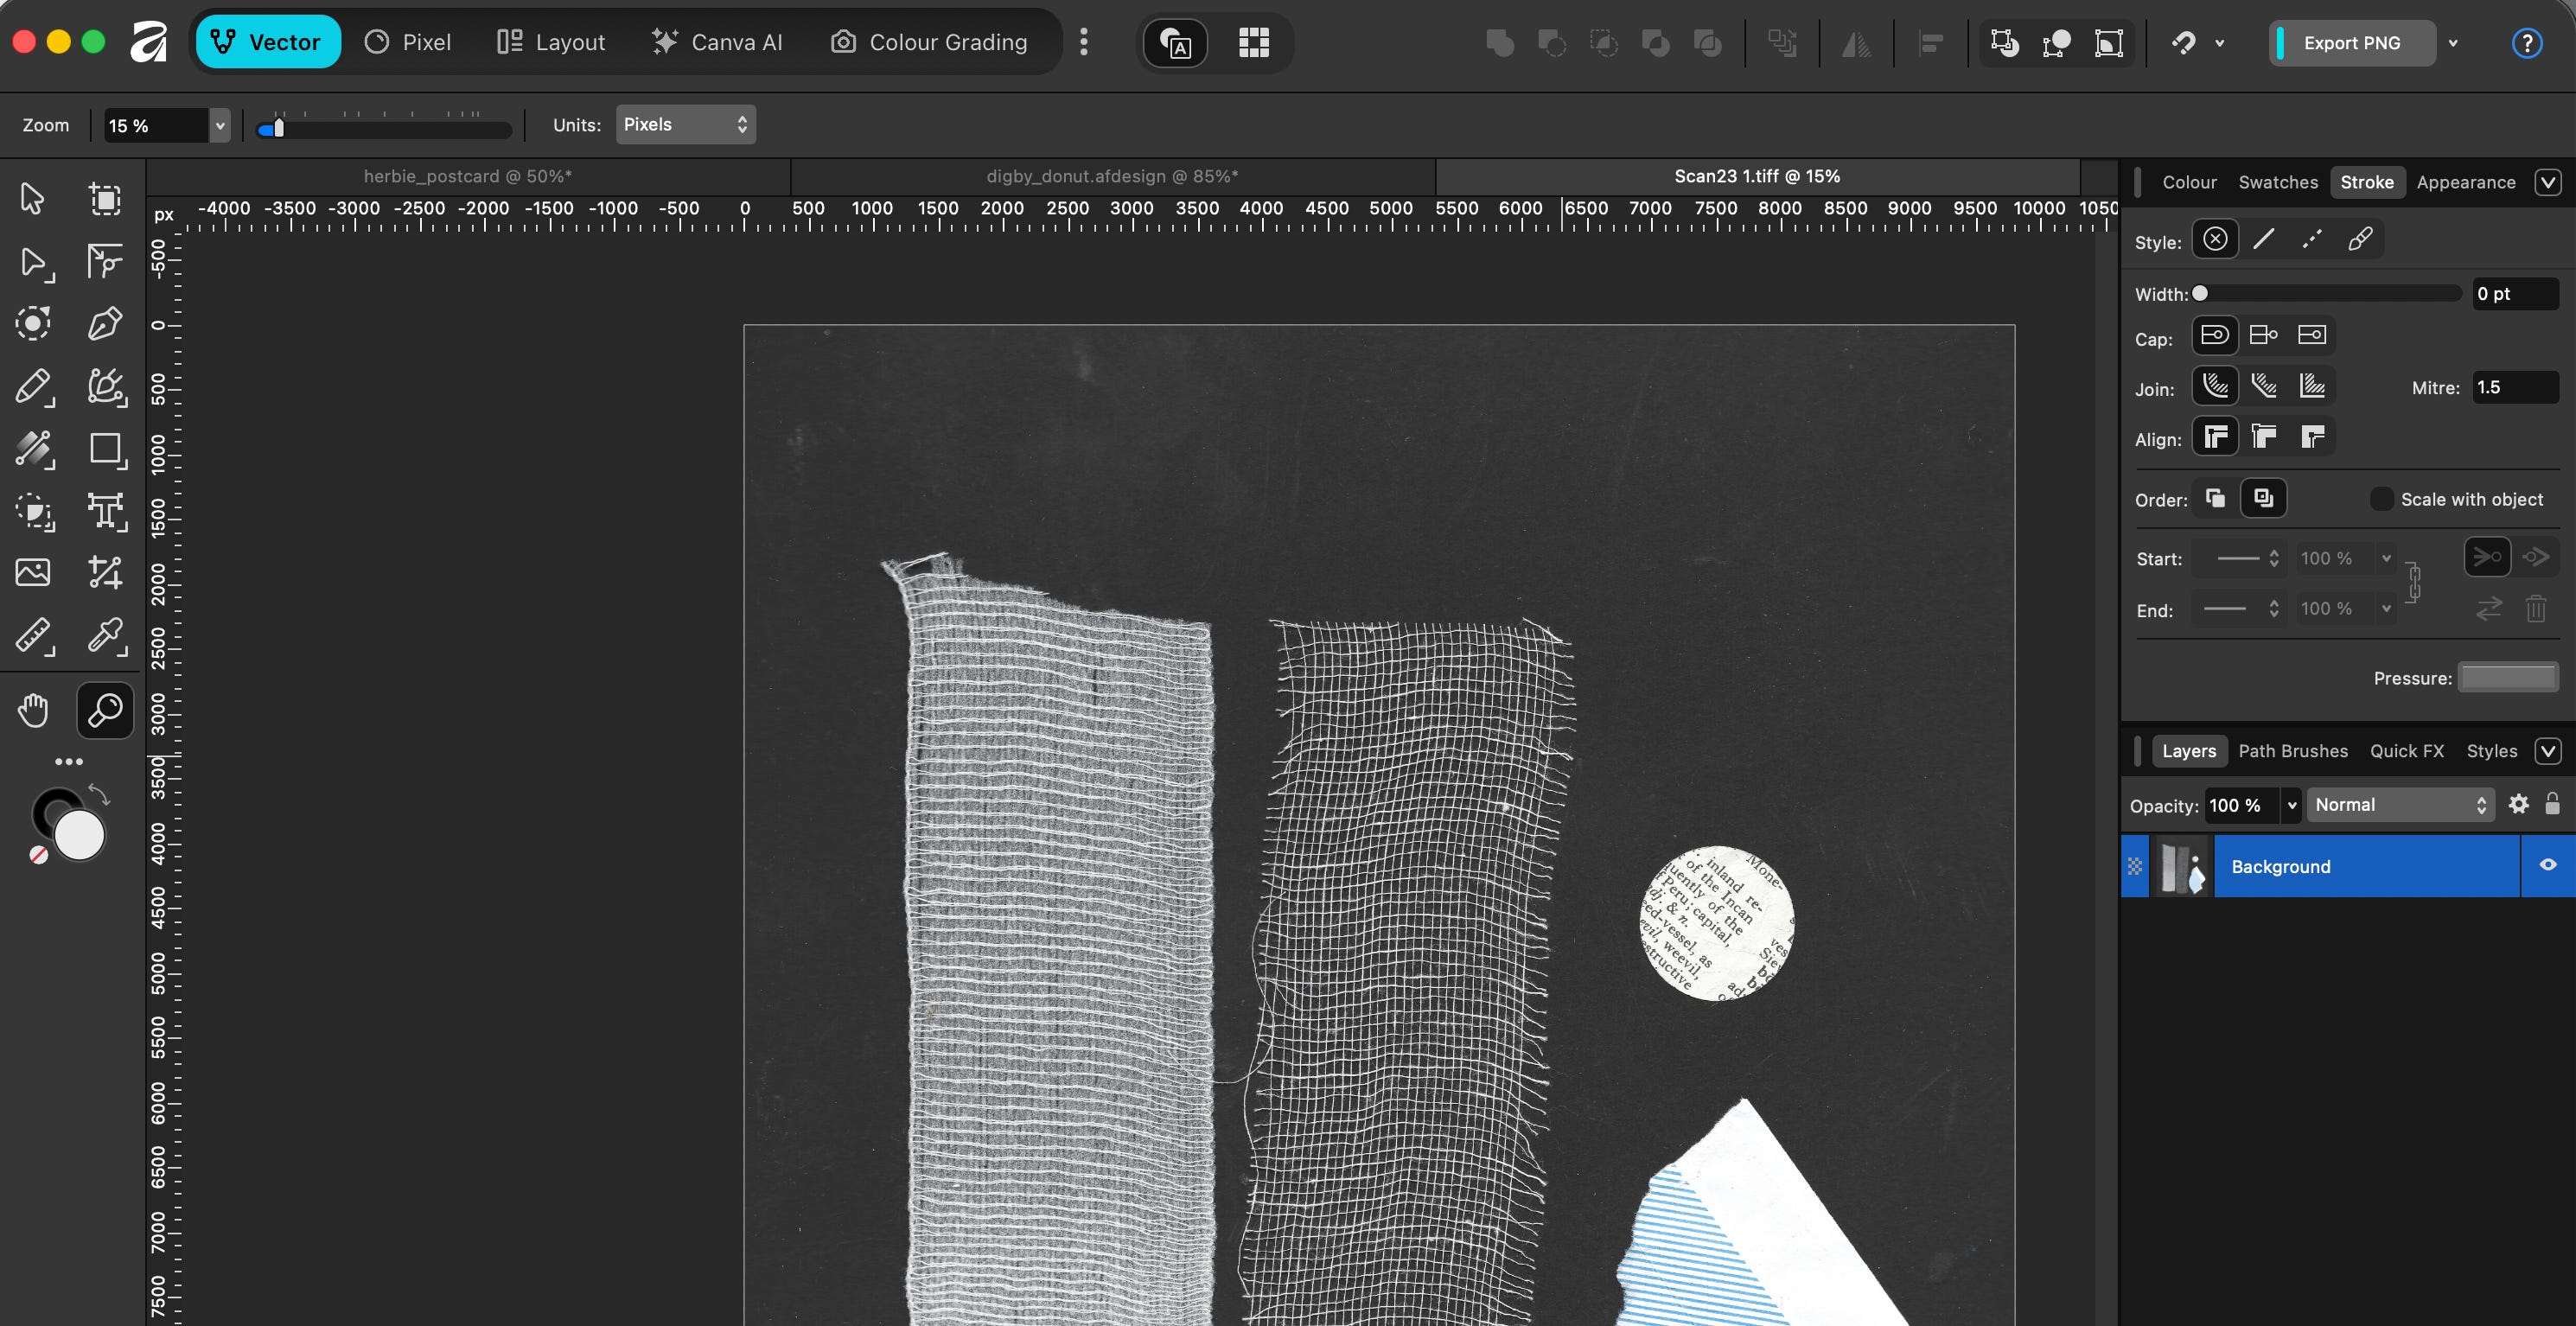
Scanning wasn’t easy at first. Working out the right settings and figuring out how to cut out and edit in Affinity was harder then I thought it would be. As someone who used Adobe for over a decade, adapting to doing this with Affinity was a learning curve. I discovered the best setting for the scanner were 1200dpi and set to image (not document) and turning off any auto settings. I also found it was often best to scan with grey behind items to make removing the background easier. In Affinity I had to get the hang of the background remover, the image editing and touch up tools and colour grading.
The first night I tried scanning an item it took me so long I began to wonder if this idea was a big mistake, but I eventually figured it out and the process got quicker.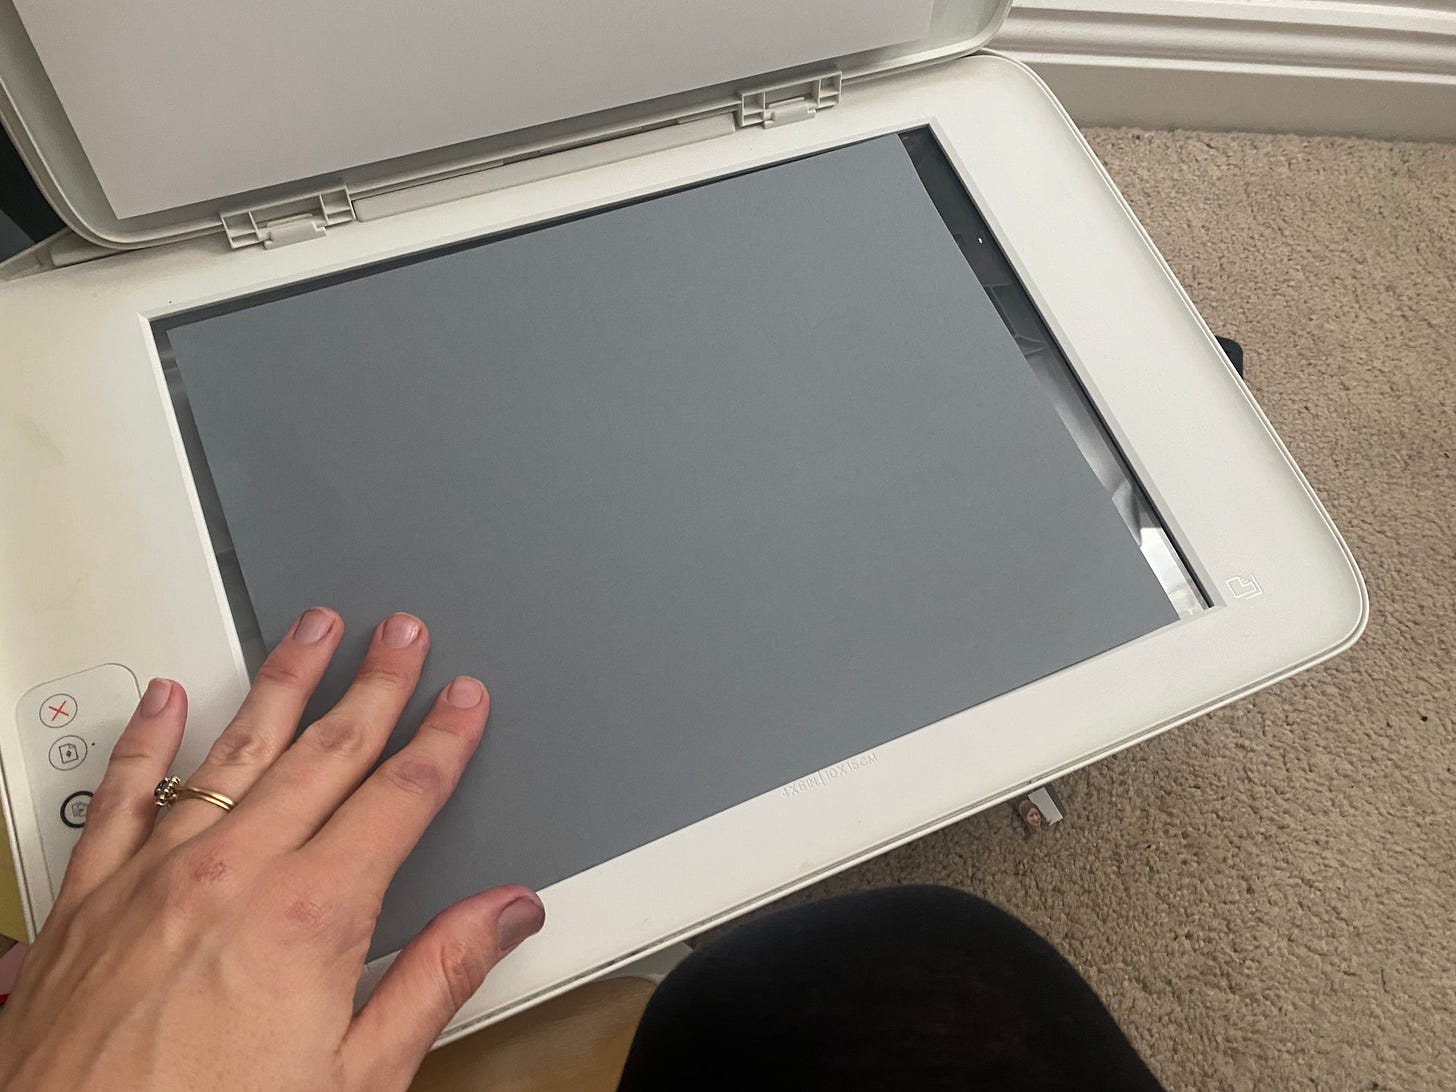
You have to edit. A simple scan often isn’t enough for a polished usable element. At minimum you need to remove the background so it has a transparent background. Though often it also requires touching up messes with the cloning tool, removing things the background remover left behind and colour grading to get it to look just right.
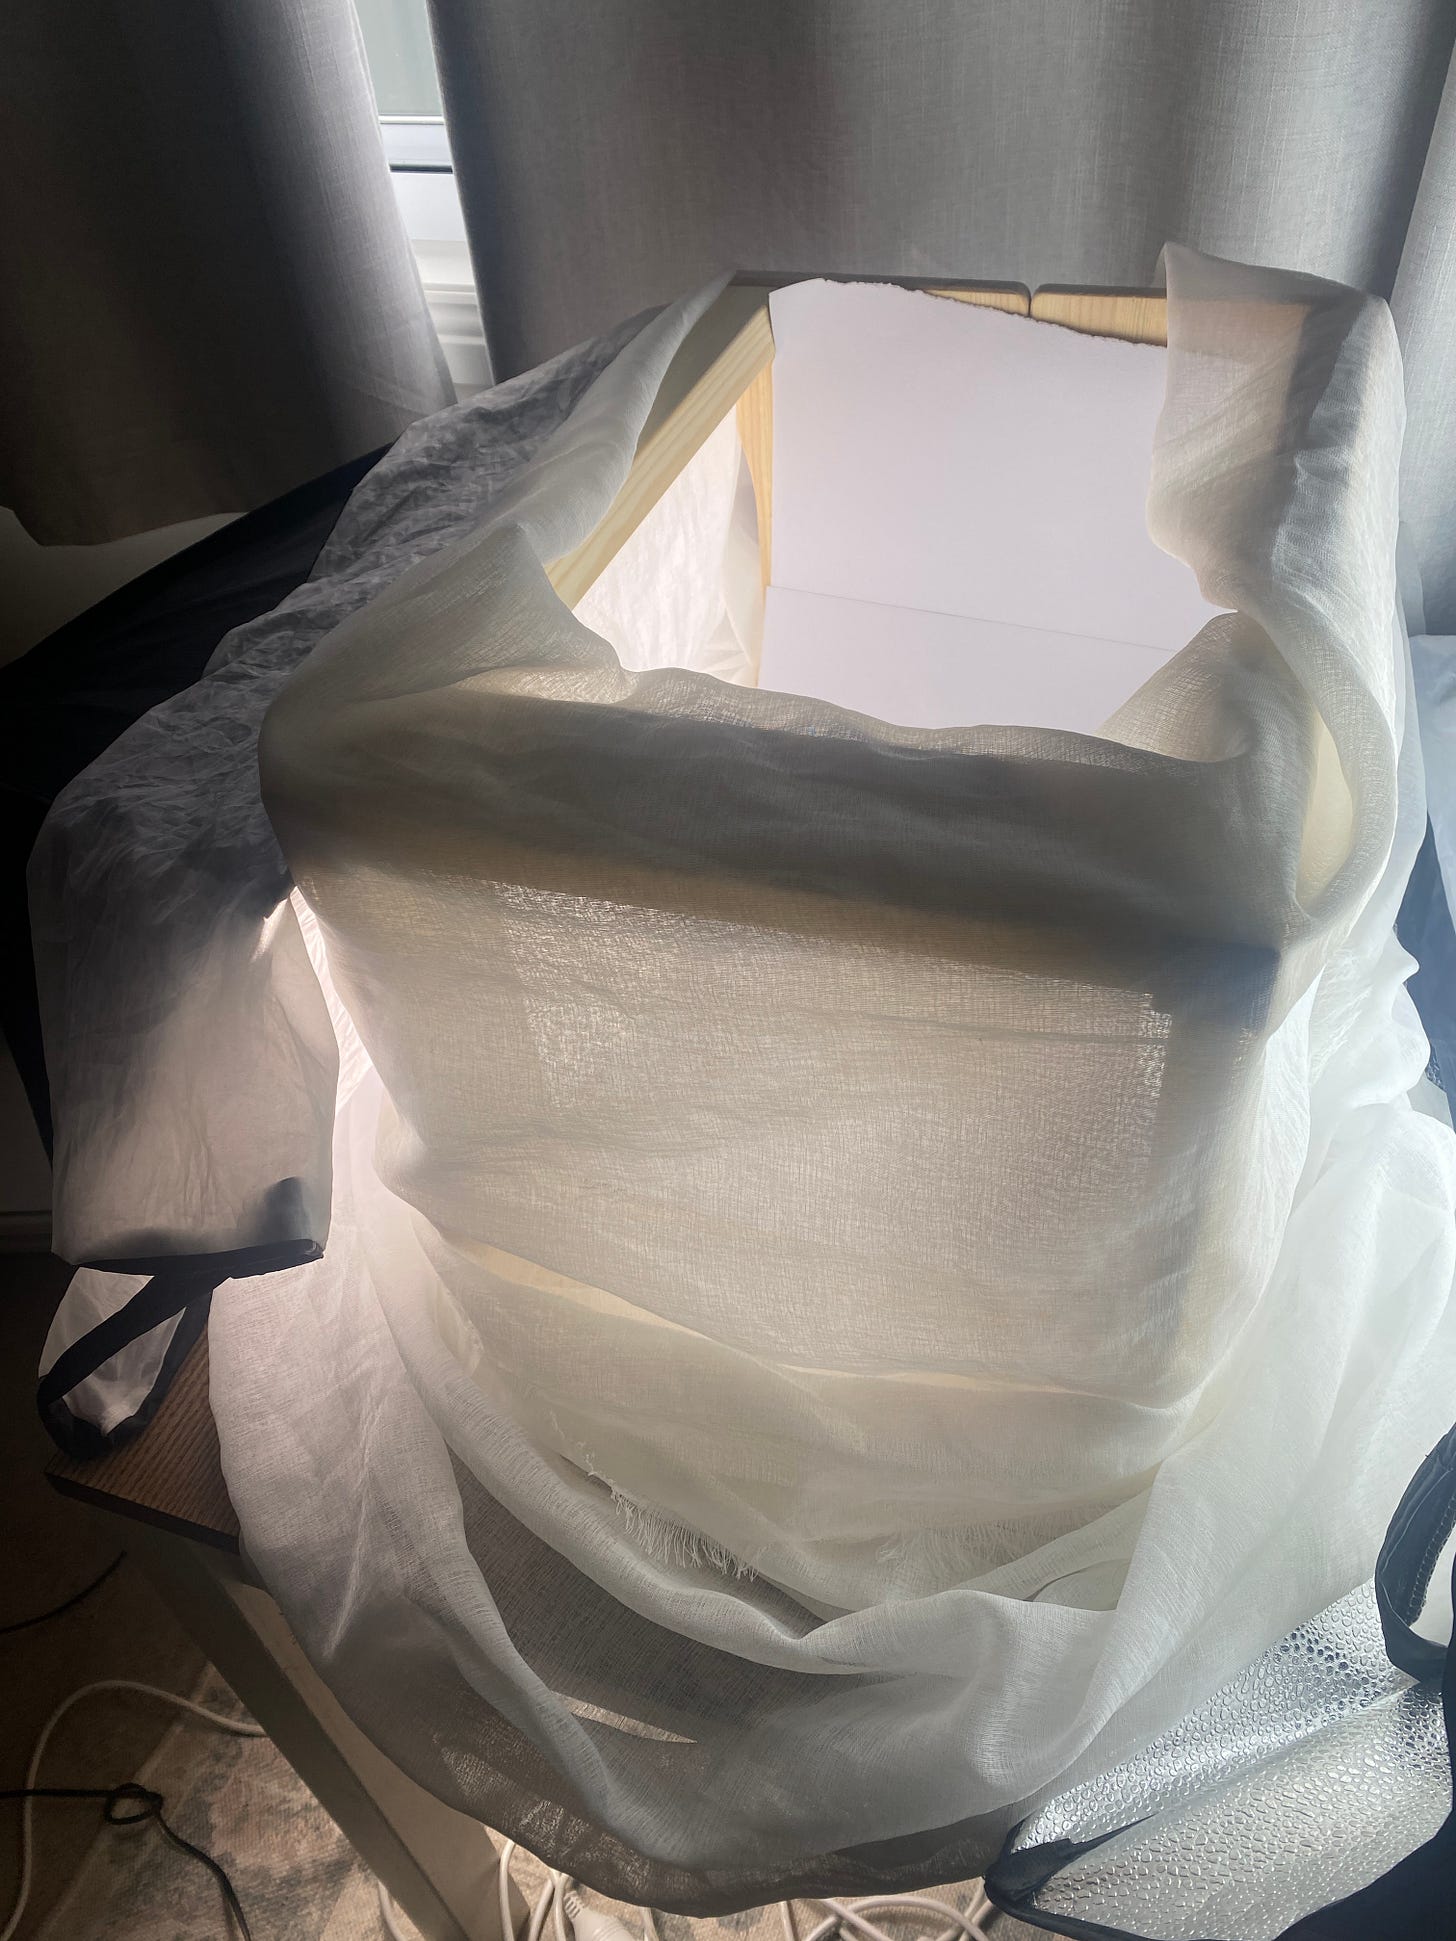
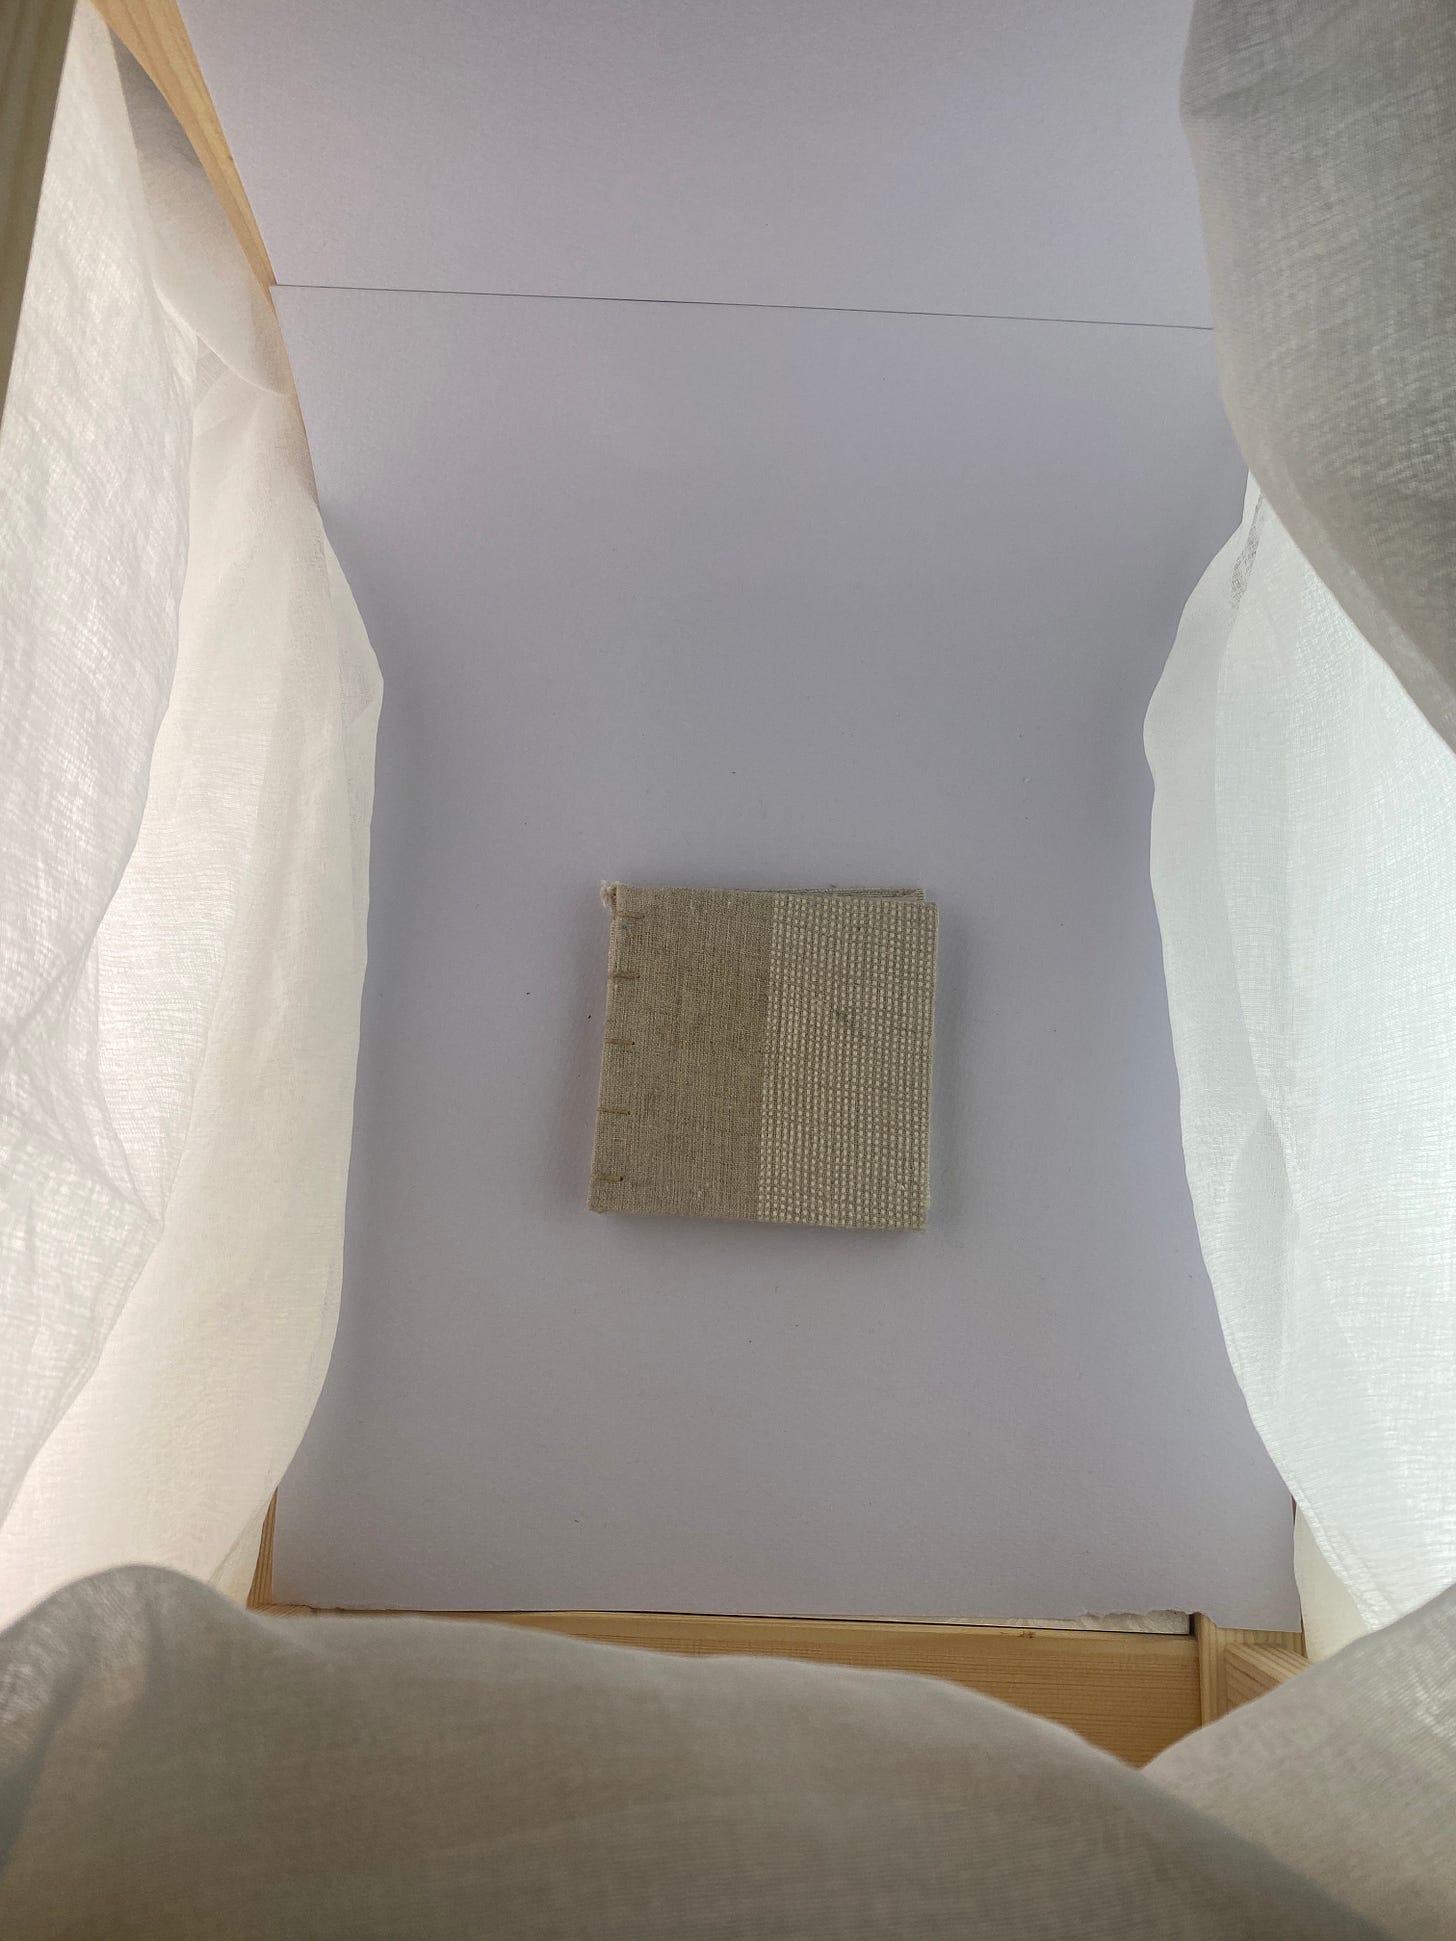
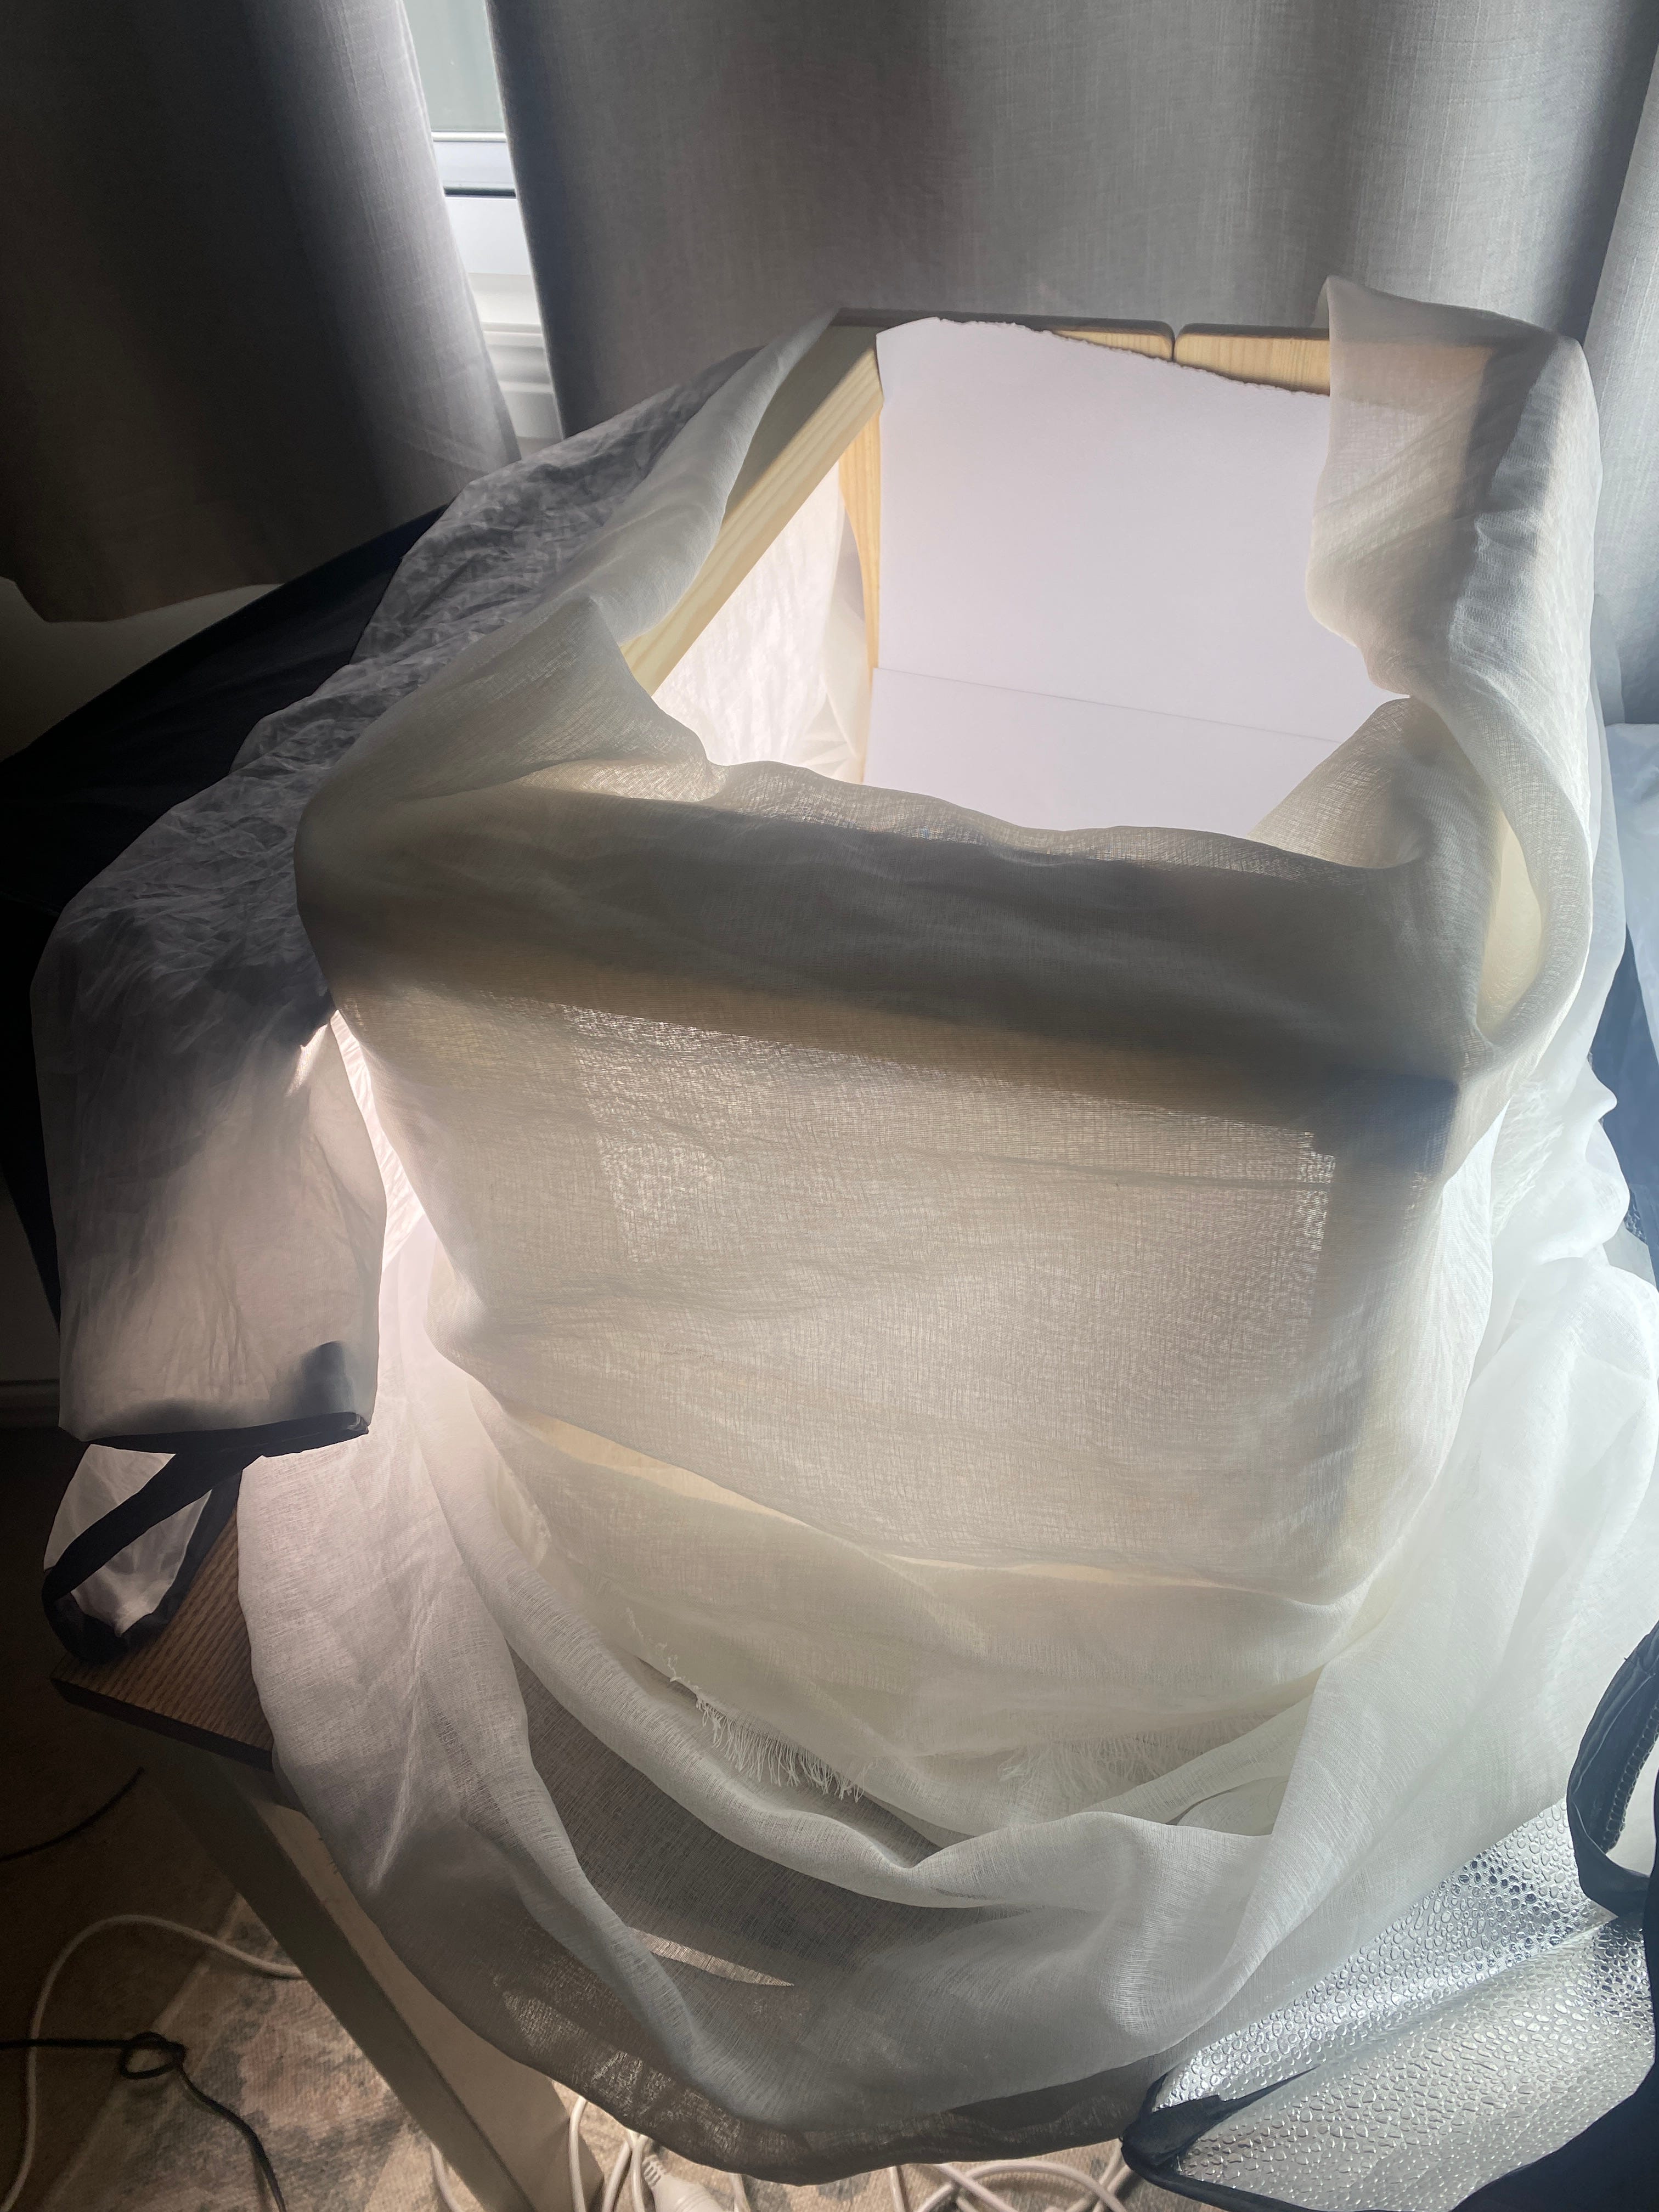
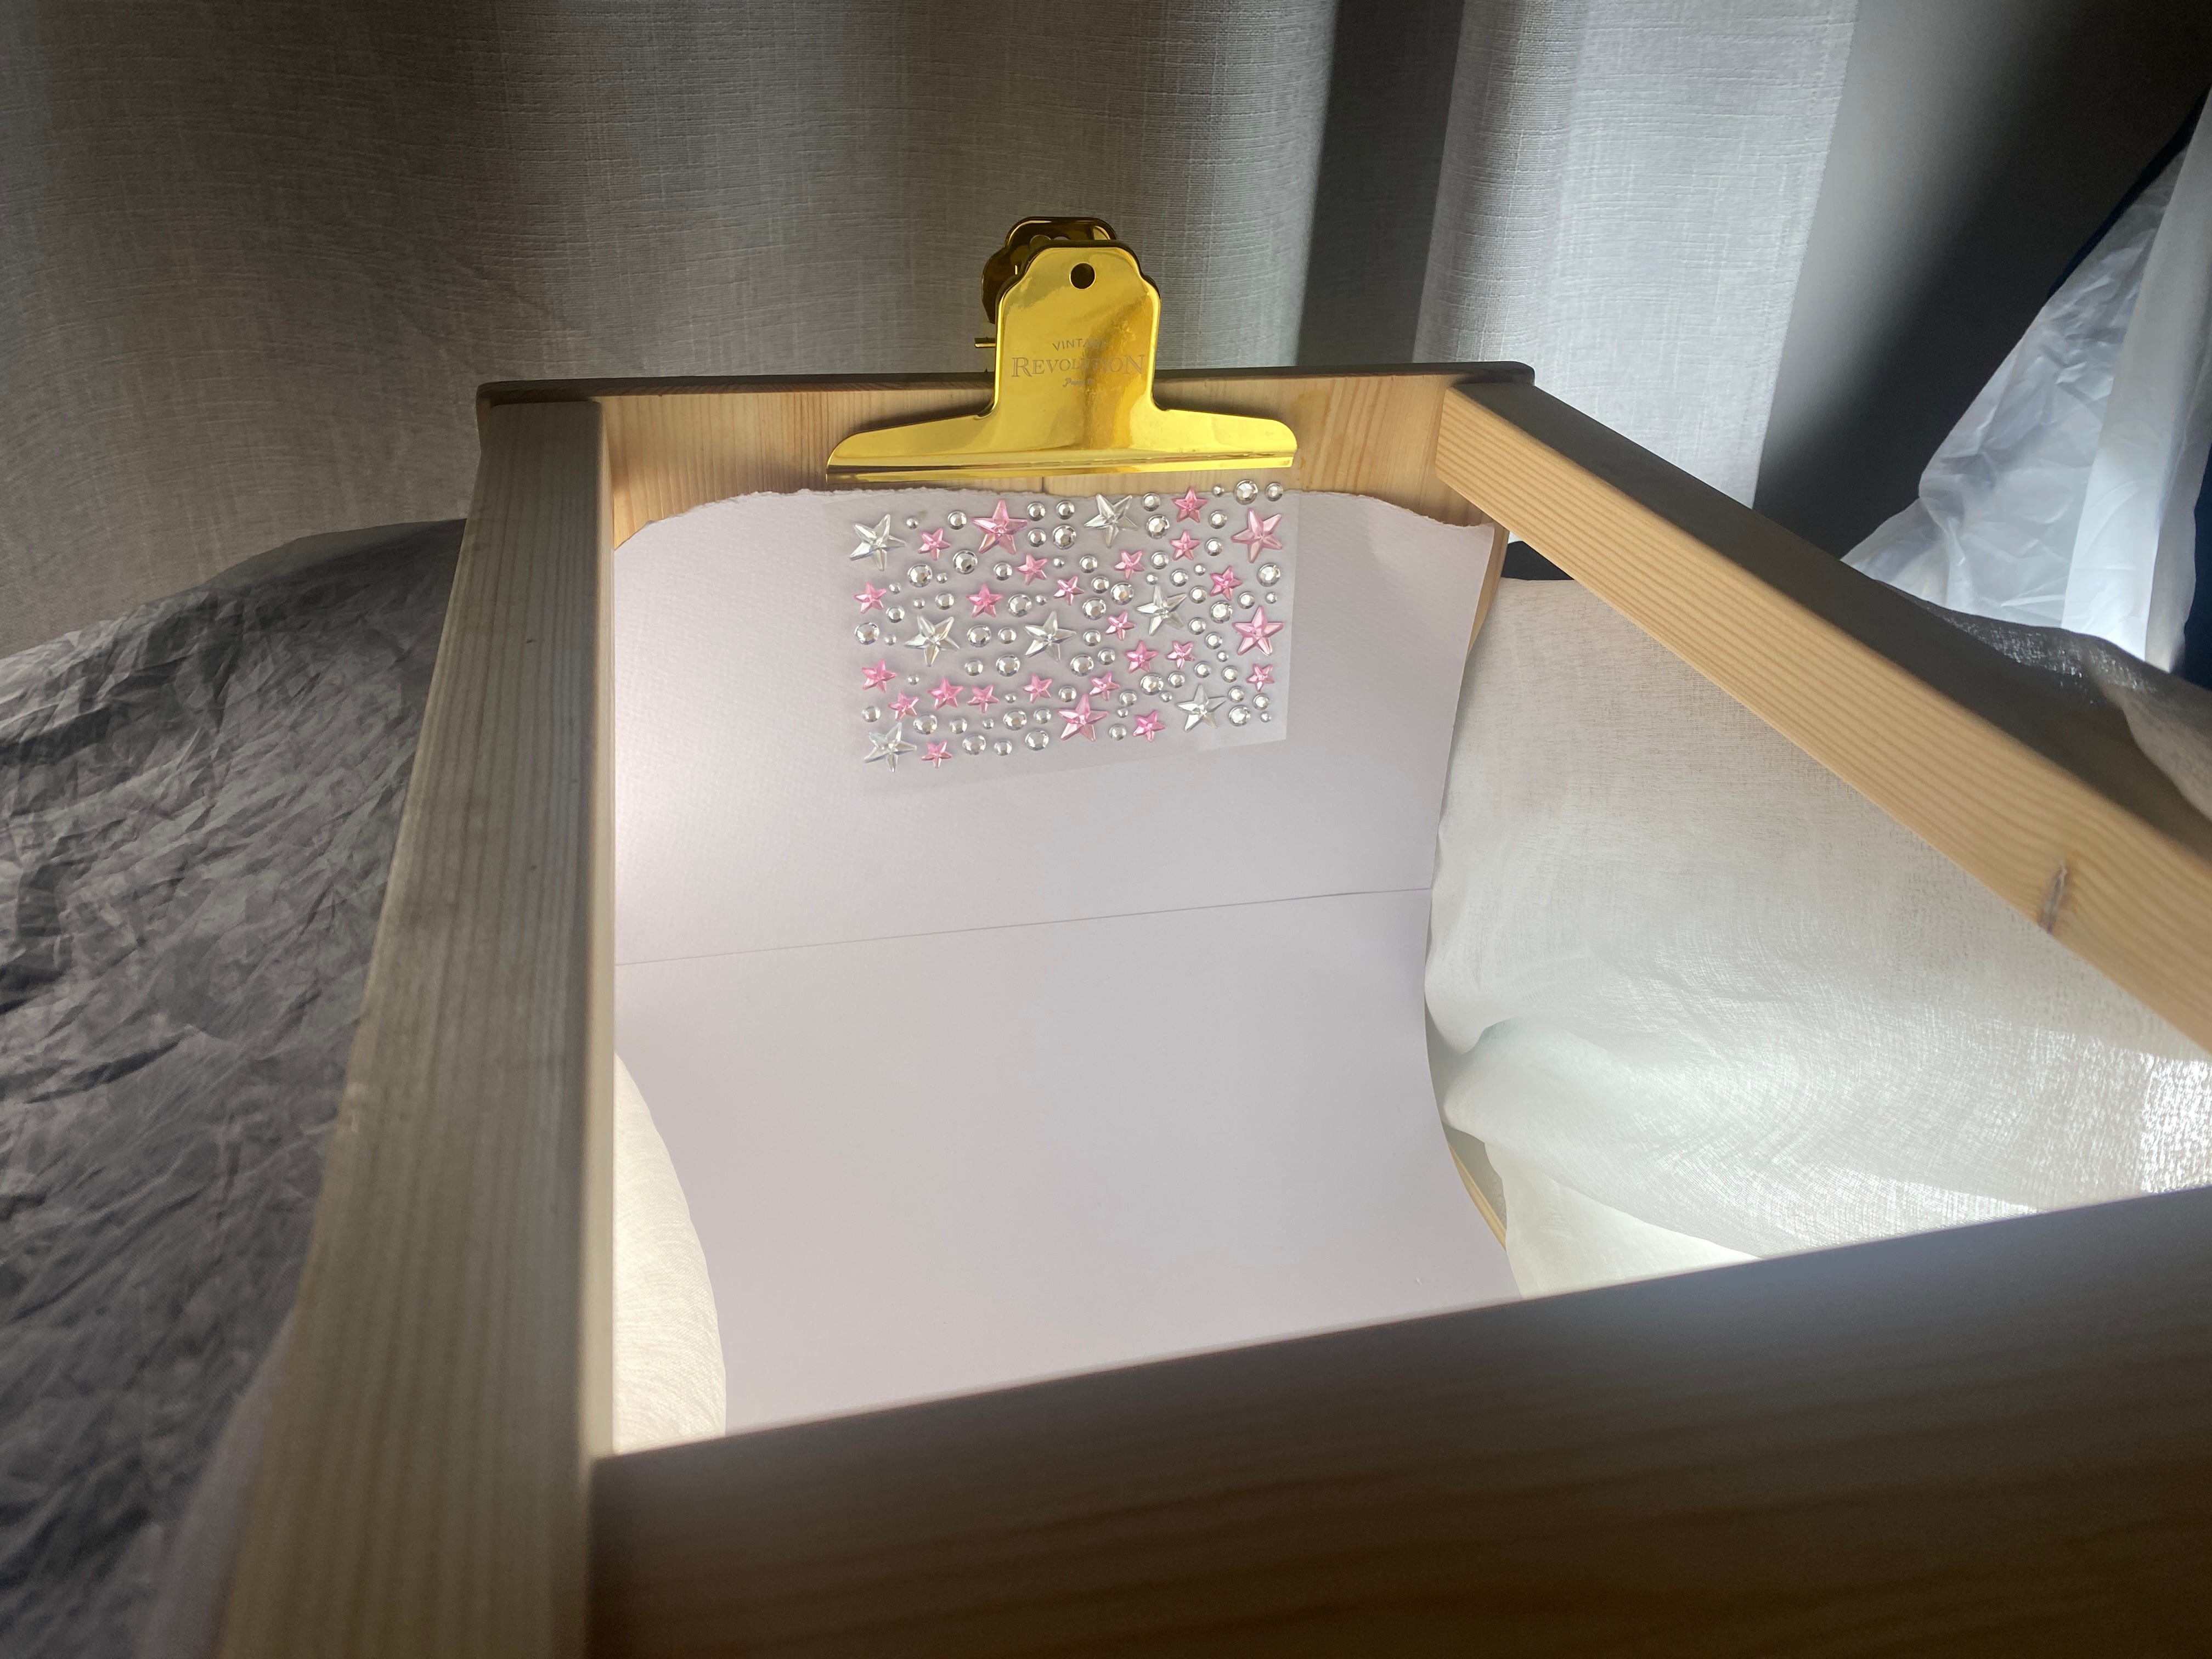
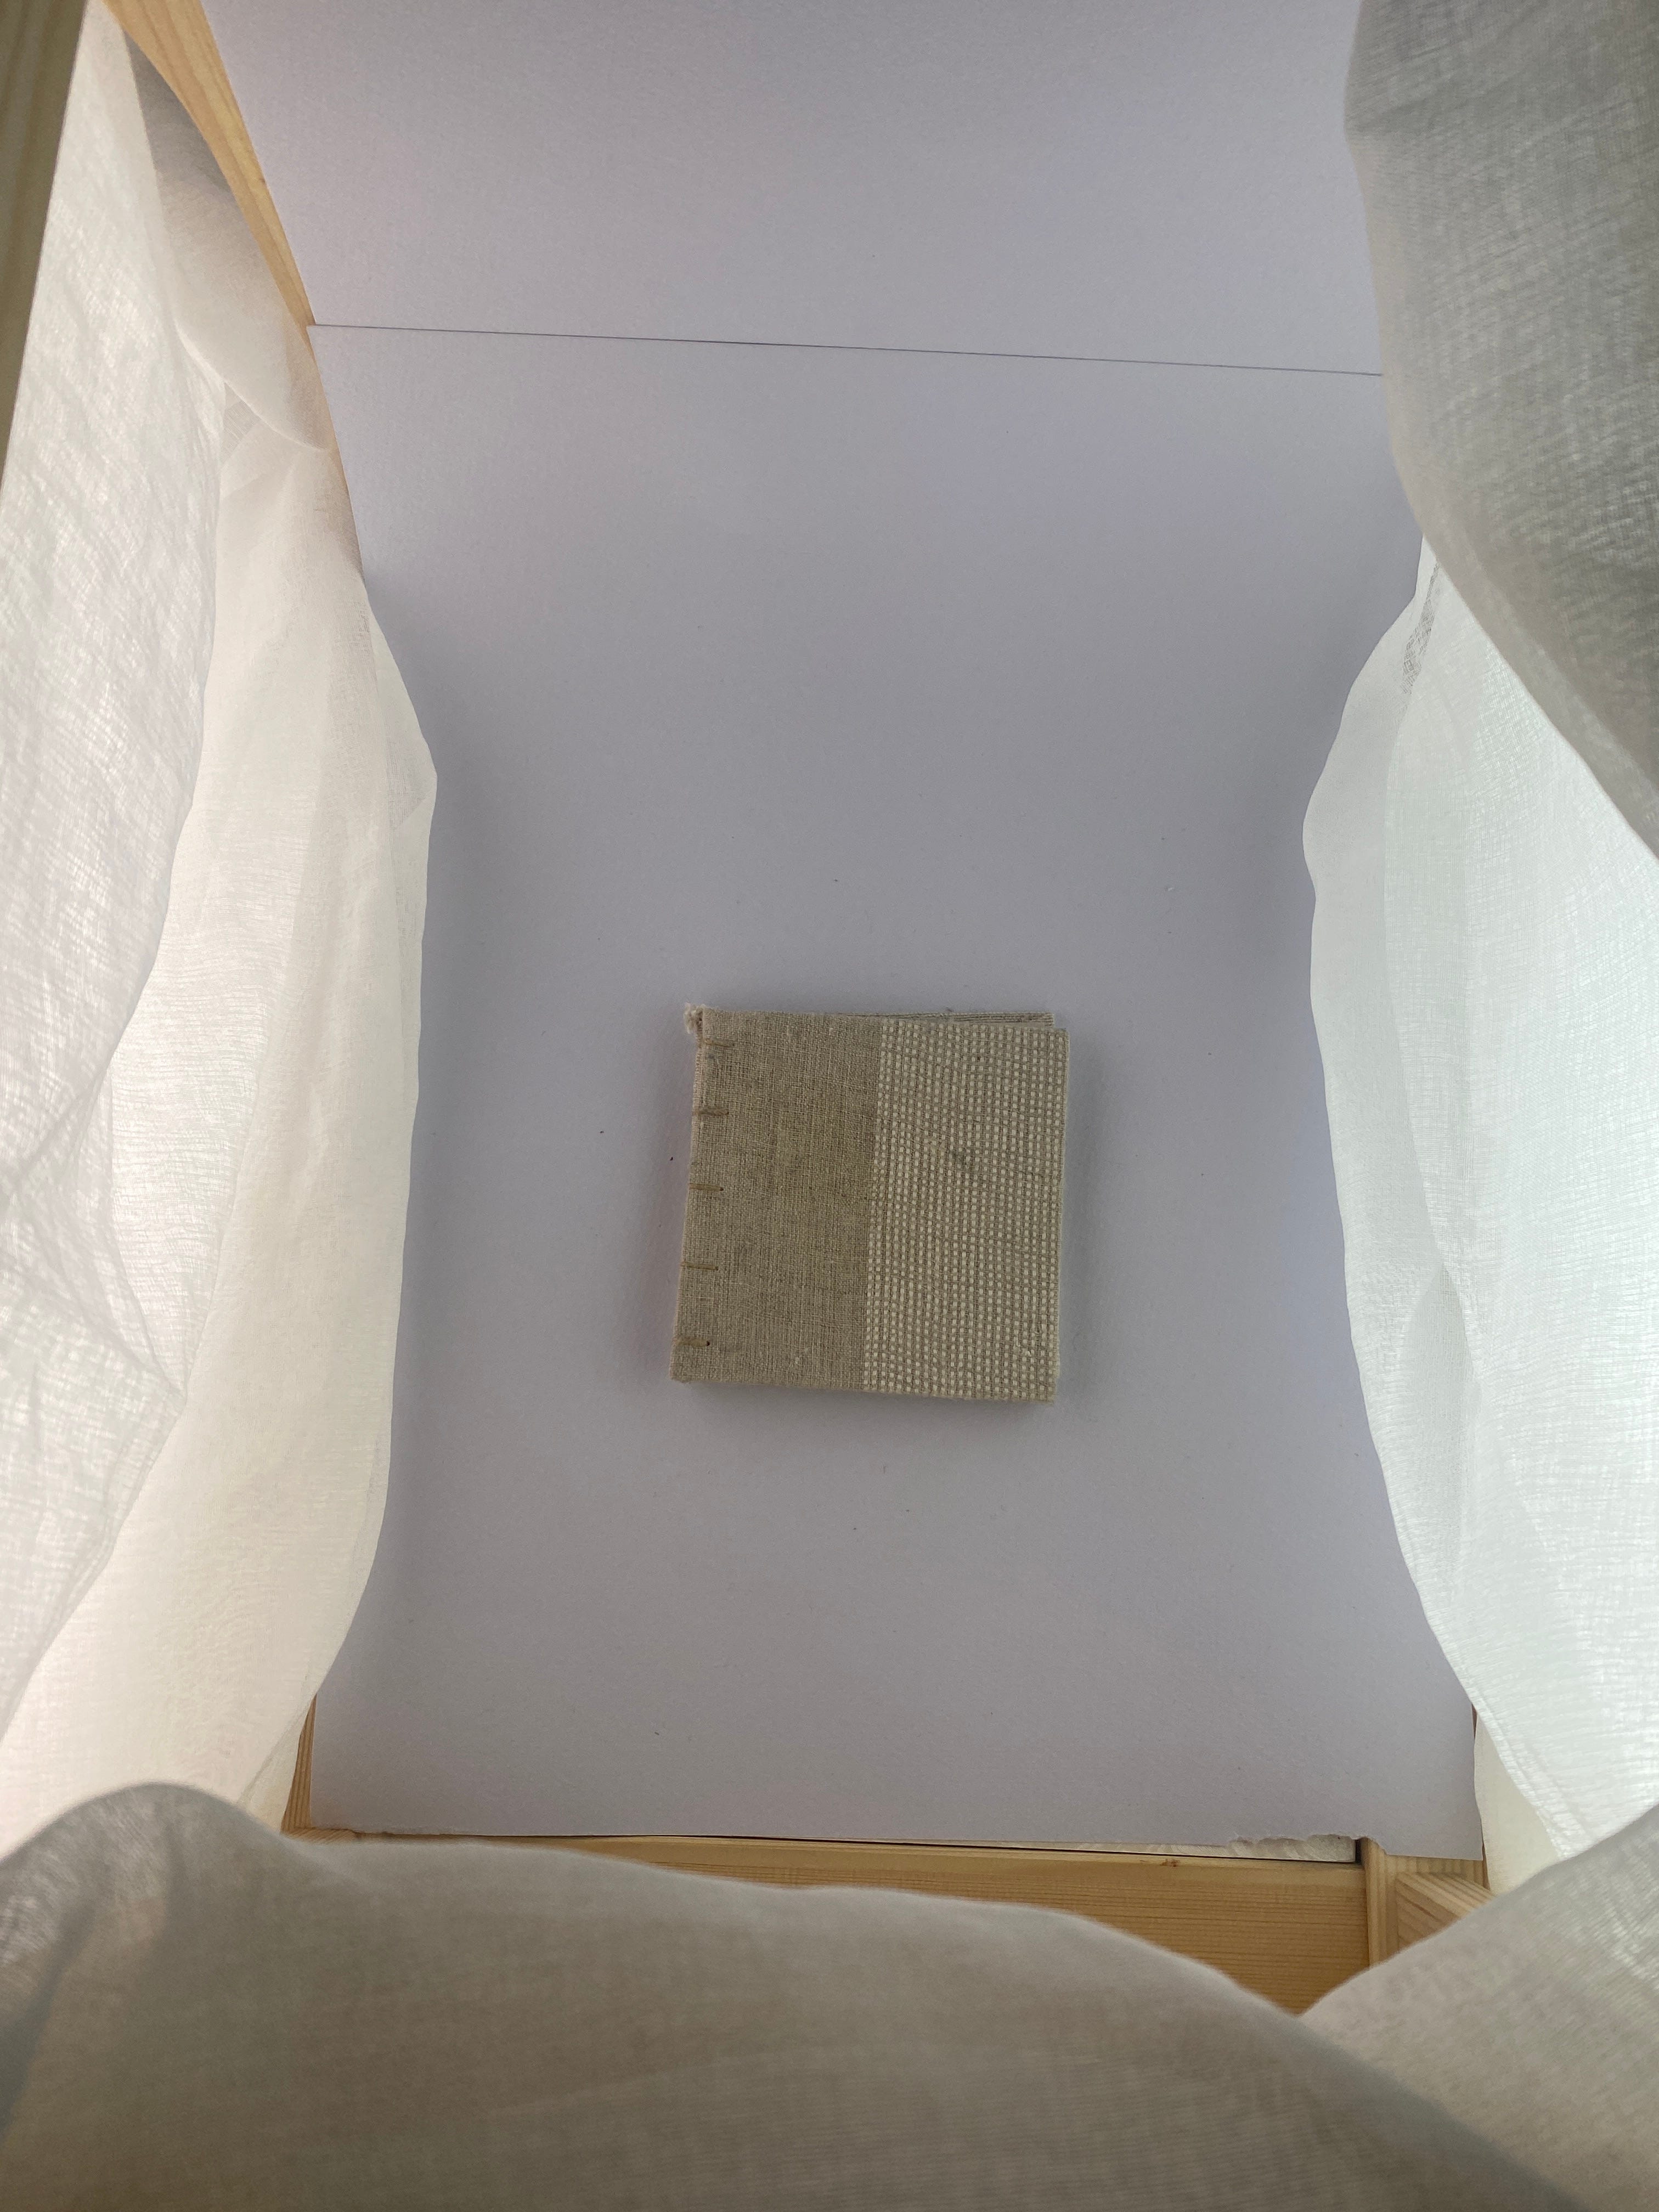
3D things don’t scan well. The trouble with 3D objects is not everything is in focus when scanned. So I made my own light box to take photos of more 3D items like notebooks and pens. I used a wood frame I had and put my soft boxes either side and white paper inside the box. I then experimented with light and positioning to get things just right. I found that shiny objects were the biggest challenge as you need to get the light reflecting off them the right way to get the look you want.
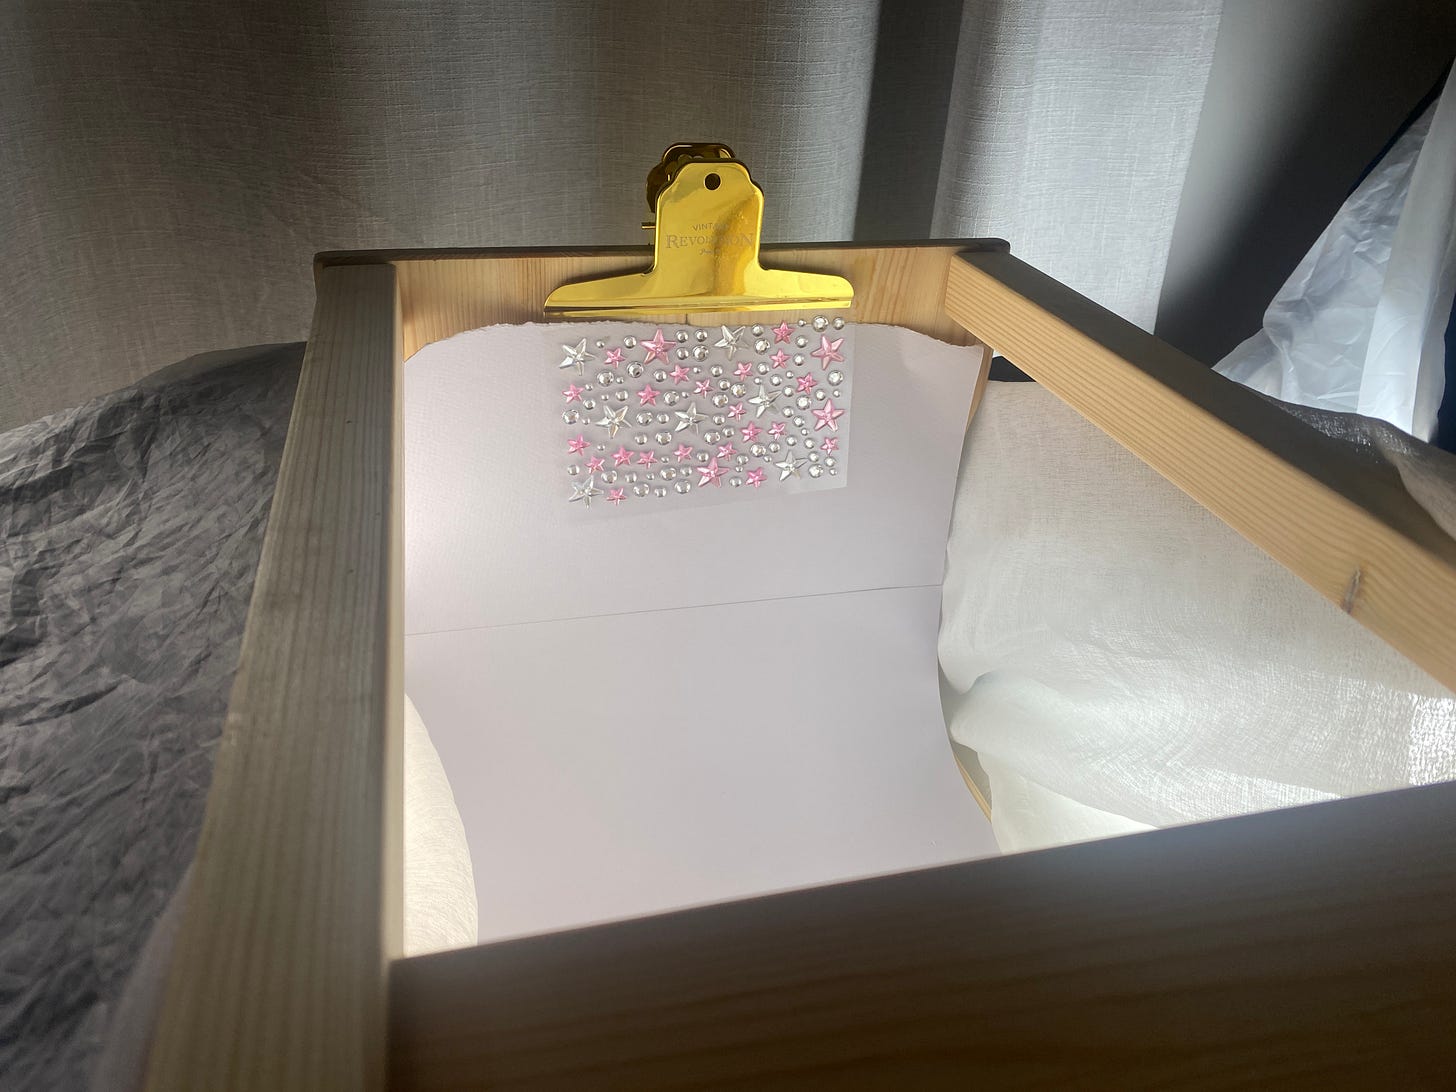
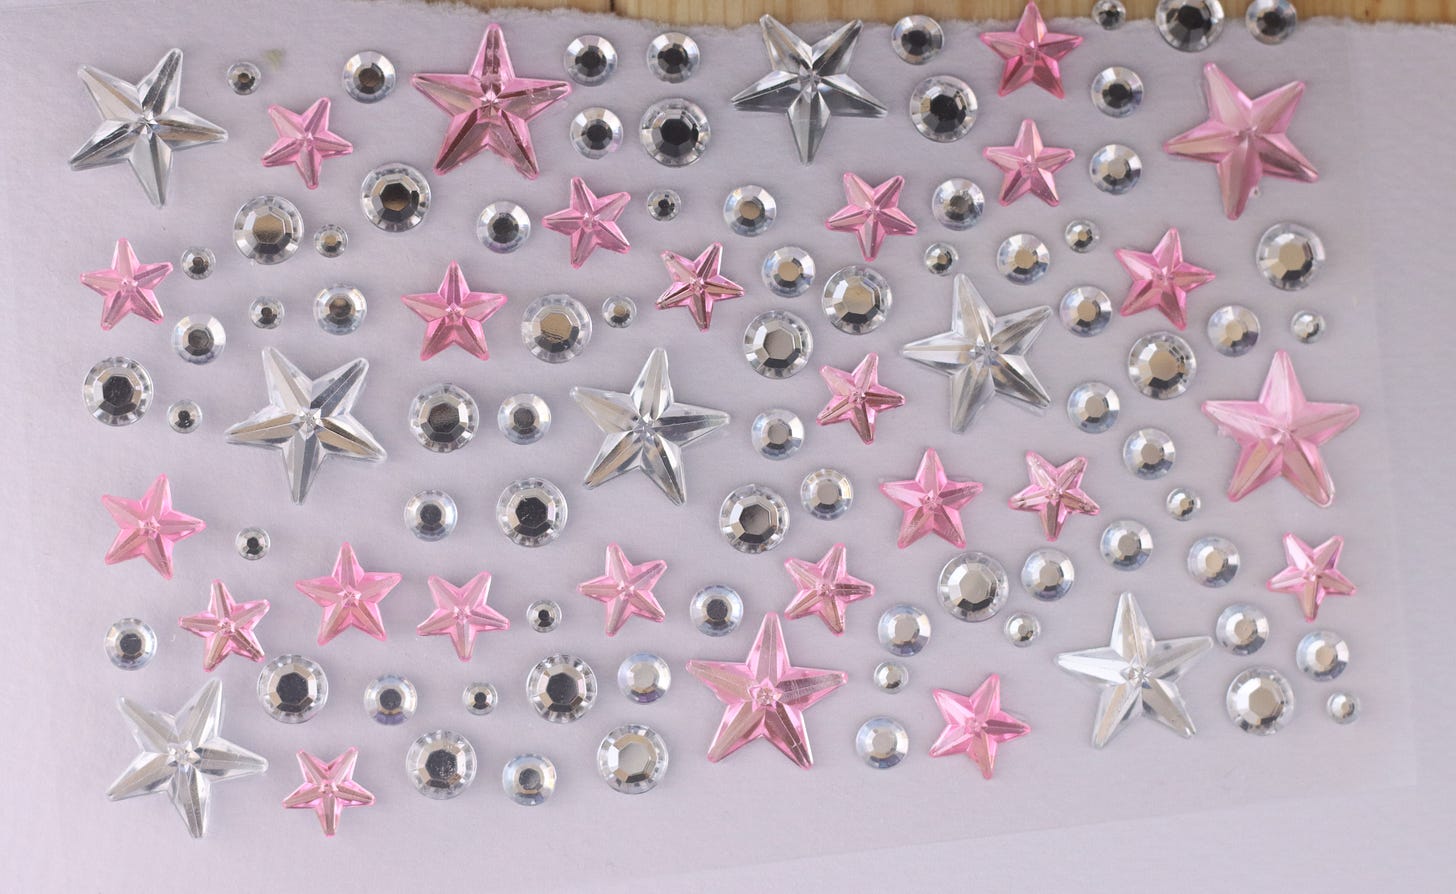
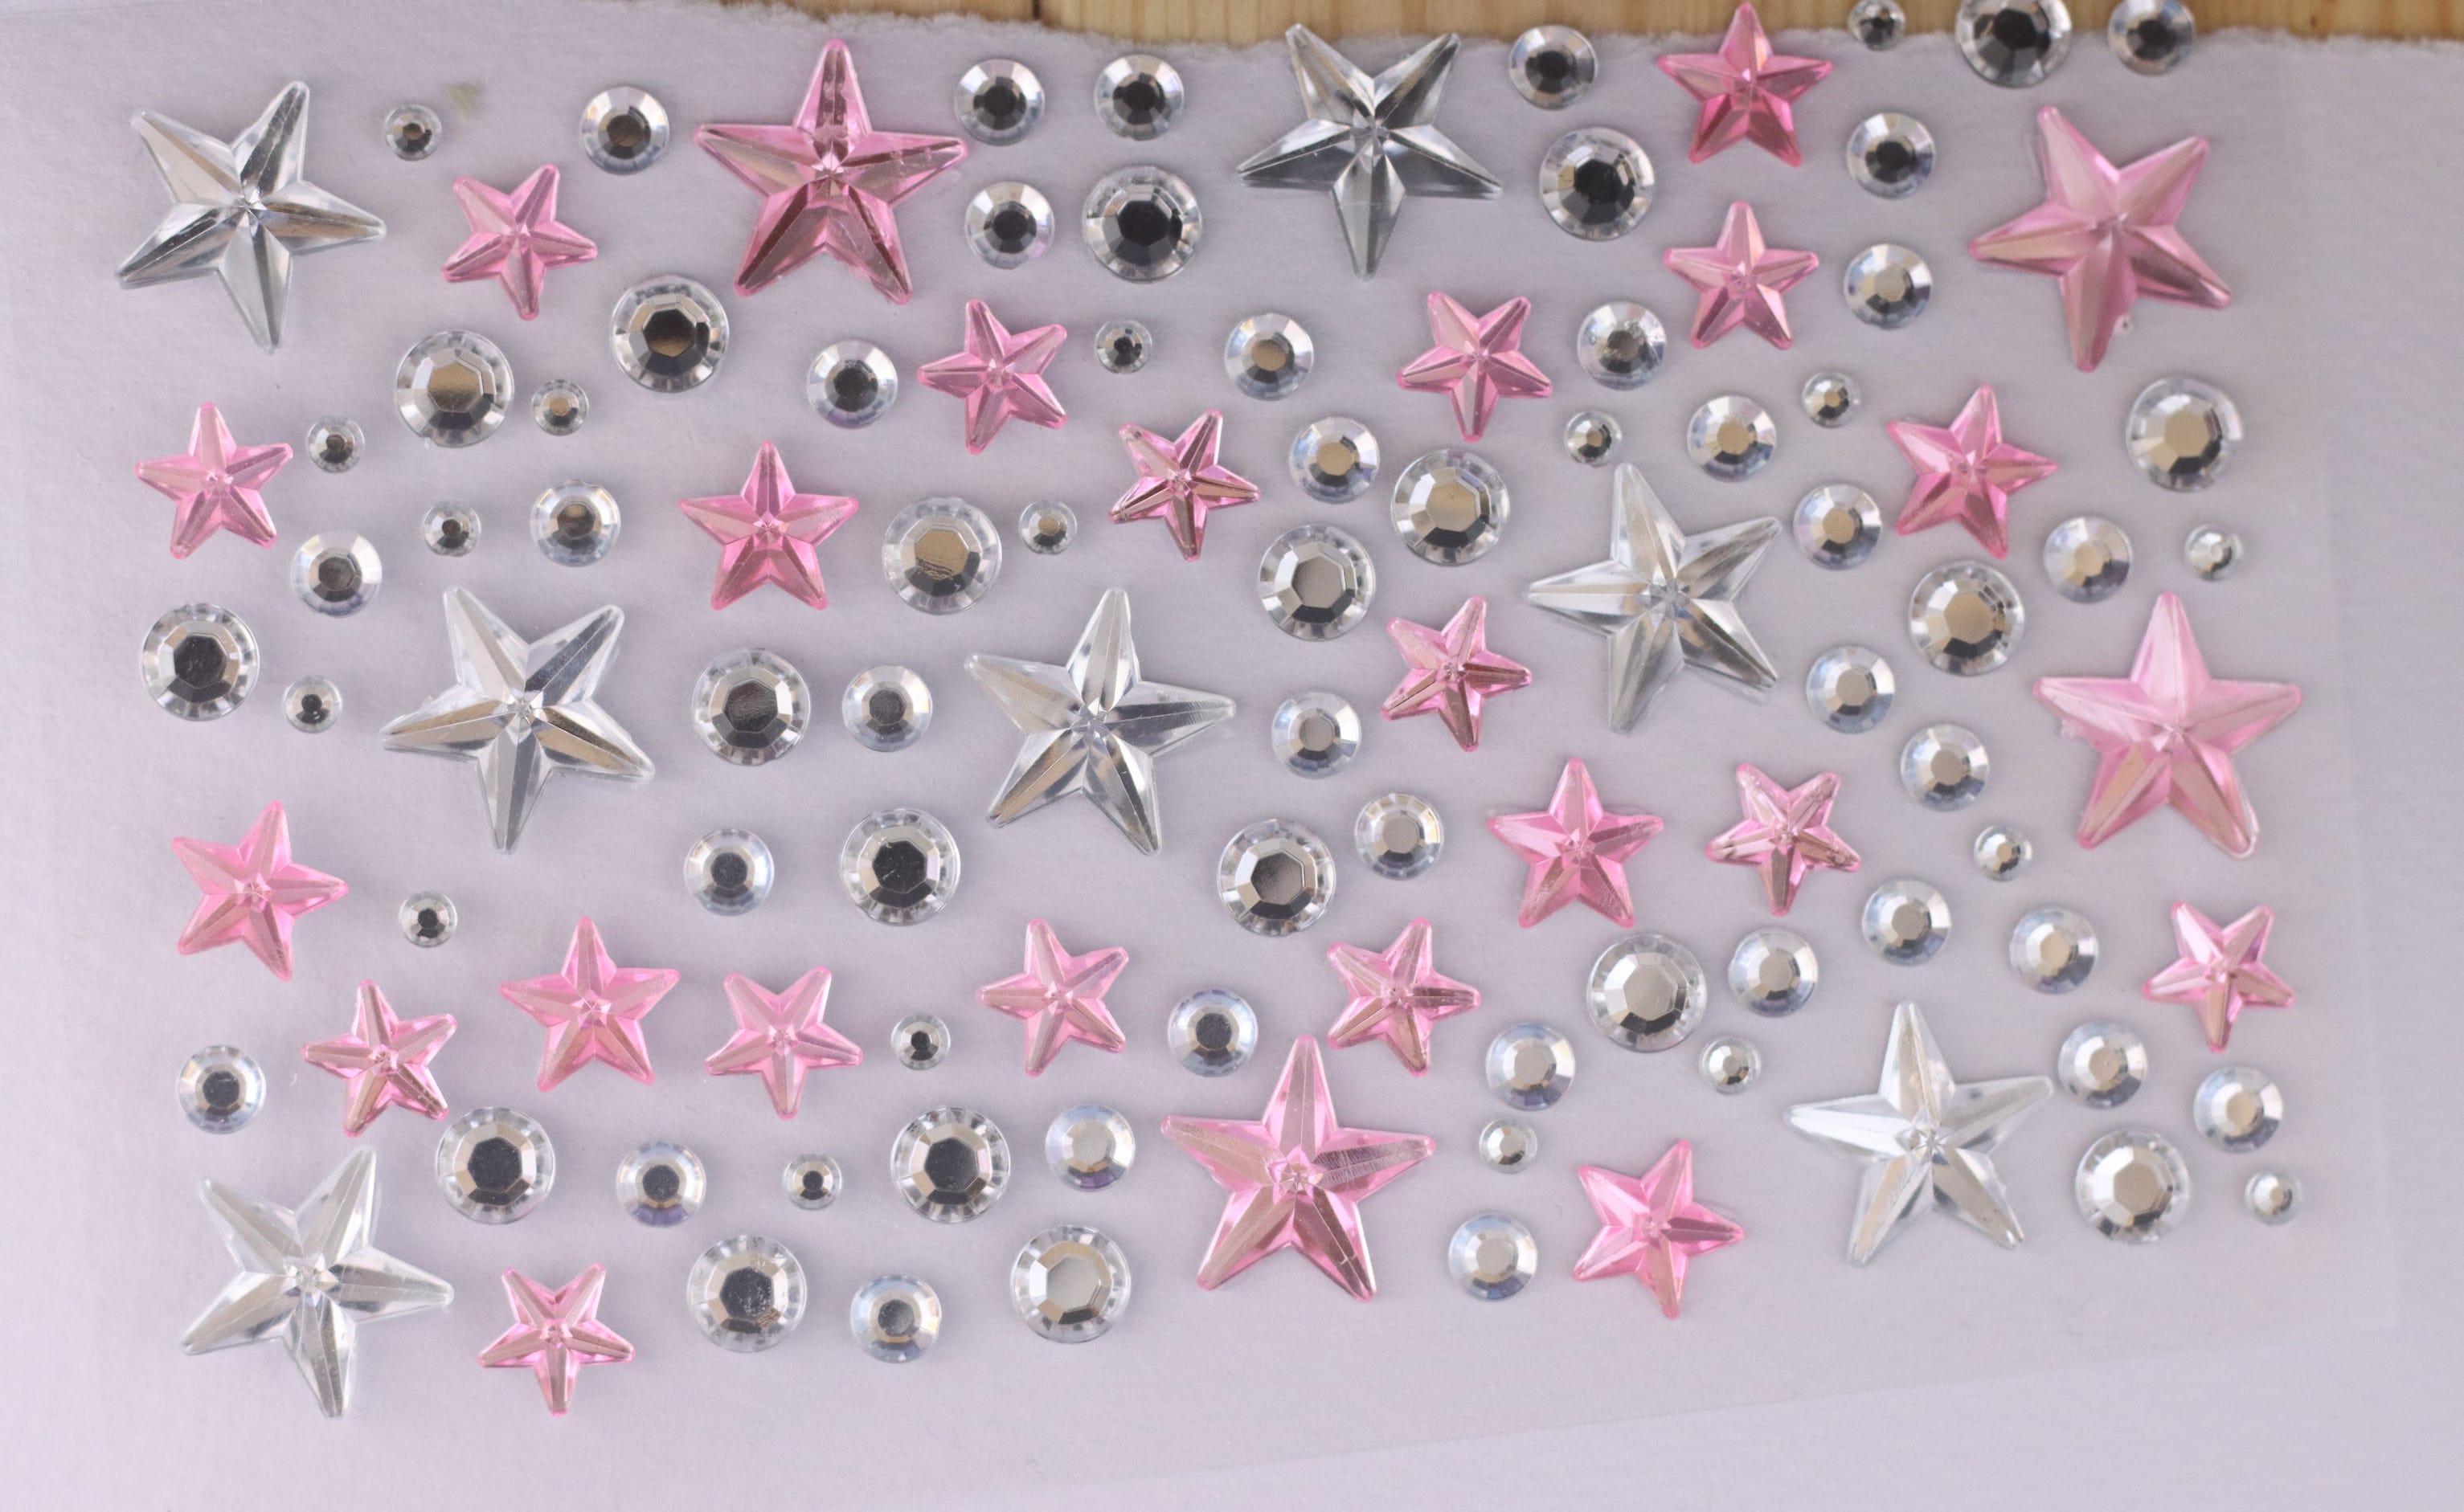
Shiny things don’t always scan well either. These are also better in the light box. I managed some diamantés but also found getting the angle just right makes a difference to the results. Shiny things can look completely different depending on where light hits them, so it was just a matter of moving it into different positions in the light box until it looked right.
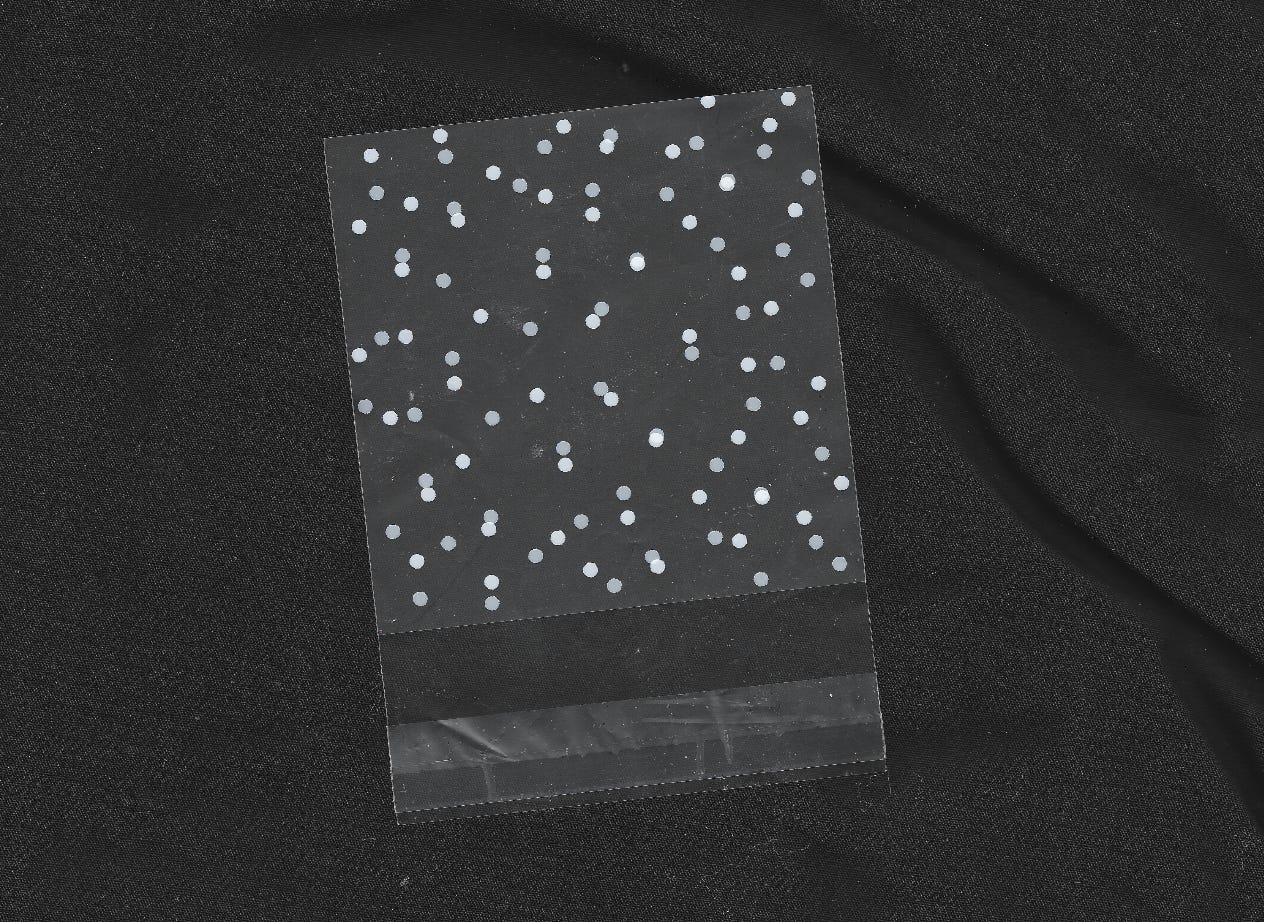
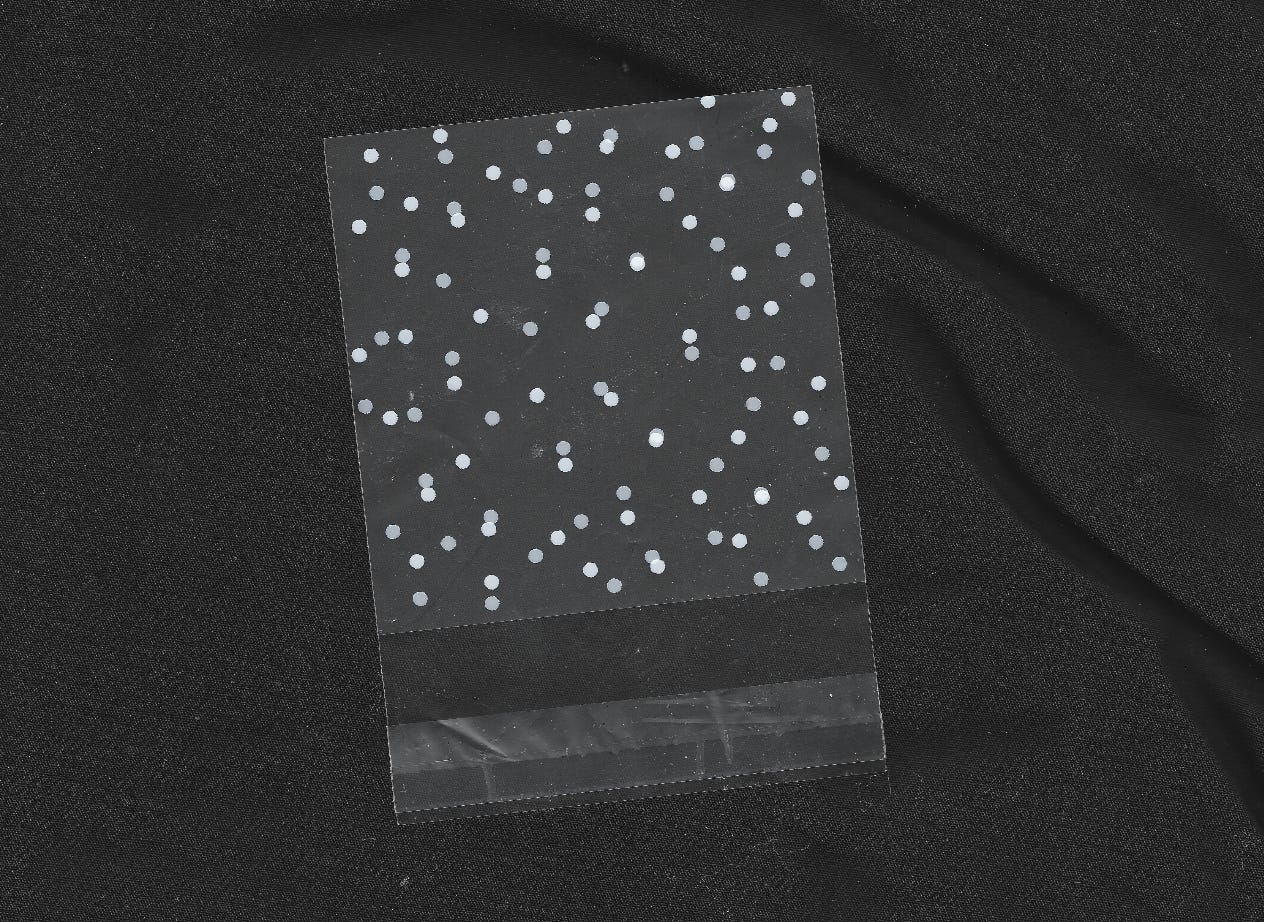
Transparent is something I still need to work on. I tried scanning a plastic sleeve and a semi transparent spotted sleeve, and quickly realised that these are more complex. Trying to scan something transparent and then maintaining the look once the background is removed and transparency lowered seems a challenge and I still don’t think I have got it right. From research it seems scanning it on black is the go, but the best edit once on the computer is where I seem to be stuck. If you have any tips or seen any tutorials do let me know!
Researching other listings:
The best sets use mixed media ( adding illustration, stitching, scribble, hand lettering) this makes a set really unique and one of a kind, it is more diverse and gives people a range of elements that work well together. So I plan to add more then simple scanned items, including things like illustrations, paint and stitching.
It is all about Curating. Things need to go well together and fell part of a set, so when you use them in a design they all work in a cohesive way. So as I add elements I have been putting them all together to check colours and style work well as a set and removing items that don’t work for that set or colour grading to make it fit in better.
Most collections are 100-200 elements. This gives me a good goal for building a set that feels like a good collection of items. My aim is to have at least 150 items in my first set. This is what makes these worth buying vs grabbing a few random things off Pinterest or scrolling Canva elements, it’s a large collection of high quality curated elements so they all work well together and look good making it easy to design with and create cohesive designs.
My first Set so Far
I am still in the process. This post was all about bringing you on this journey with me and documenting what I am learning. My first set theme is around planning and notes. With lots of paper and notebook textures, stationery items, and paper scraps.
I still need to take some more photos, add illustrated elements and maybe scan in a few more stitched elements, but at 120 elements so far I feel like it is coming together nicely.